Verify QuickBooks Desktop Connection & Company File
Sometimes, QuickBooks may disconnect due to multiple reasons and we may need to verify the connection between Webgility & QuickBooks Desktop
Steps to verify the QuickBooks connection.
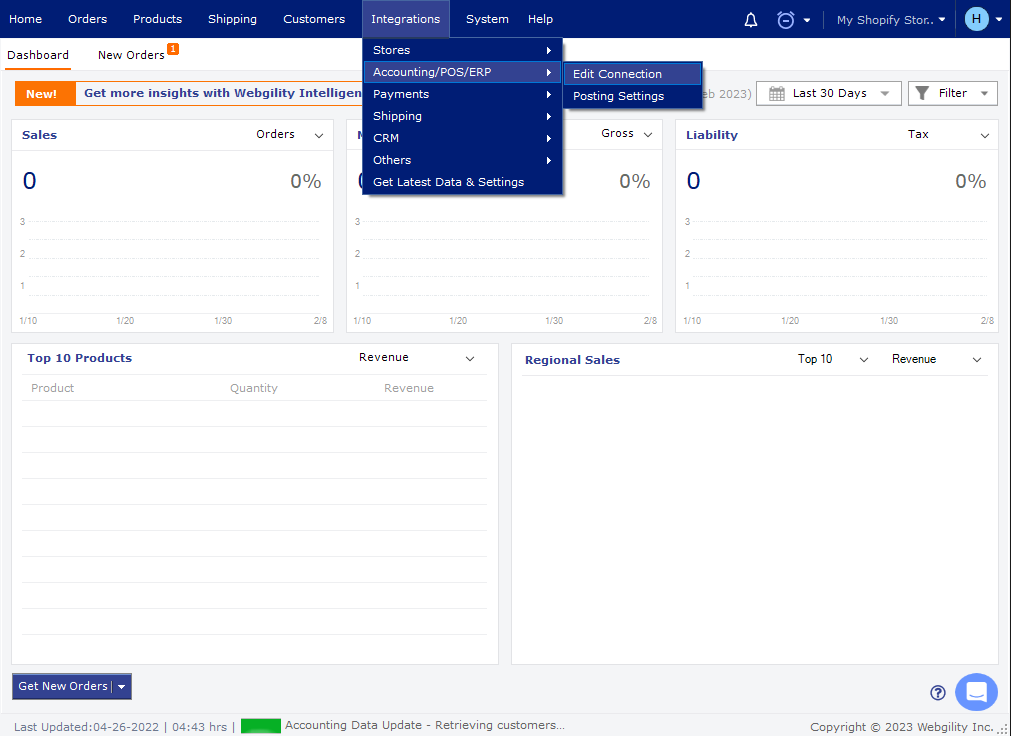
1). In Webgility, navigate to Integrations> Accounting/POS/ERP> Edit Connection.
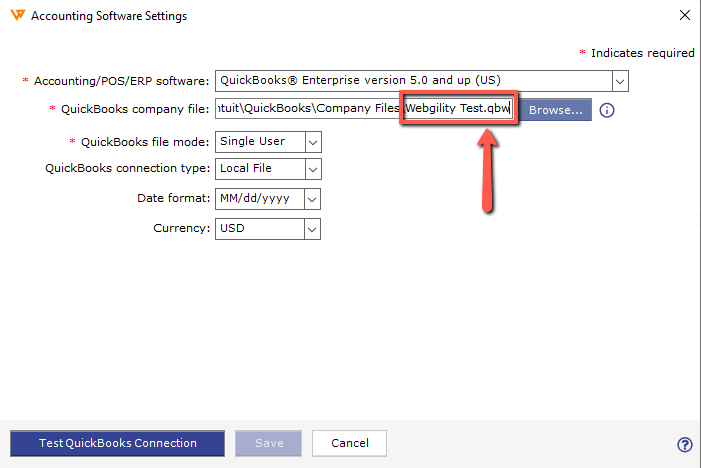
2). On the Accounting Software Settings, under the QuickBooks Company File option you can verify the QuickBooks Company File Location.
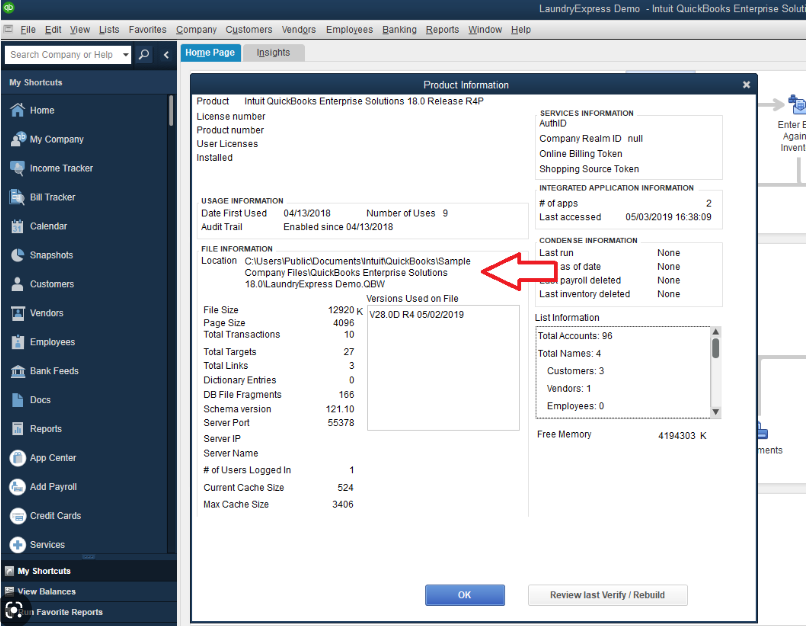
3). To confirm the QuickBooks Company File Name you need to open QuickBooks and then press F2 or Ctrl +1. Under the Product Information, you will see the QuickBooks Company File Location and you can match the same with Webgility. If both locations match, you should be able to connect Webgility to QuickBooks, unless there is something else blocking the connection. In case the location doesn’t match, you would need to copy the location from QuickBooks and paste it into Webgility and then try connecting Webgility with QuickBooks again.
4). Once you are sure about the QuickBooks Company File Location, you may click Test QuickBooks Connection.
5). If the connection is successful, you may click Save and close the window, you are now connected to QuickBooks successfully.
If you are still having issues, please feel free to contact support@webgility.com You can also visit webgility.com to chat with our support team.