The credentials for the sales channel that are linked with the Webgility Desktop application can be updated using the instructions in this article.
Note: This procedure is only required if the Webgility desktop program was previously linked to an online sales channel or marketplace and the web credentials have changed.
Steps:
1. In Webgility Desktop, navigate to Connections then goto Sales Channel and click on Manage Sales Channel.

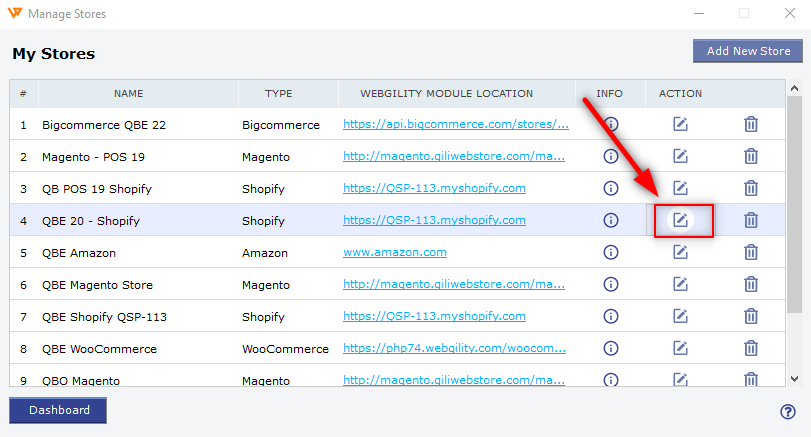
2. If you have multiple sales channels added, click the Edit icon in the ACTION column in front of the sales channel for which you want to update the credentials.
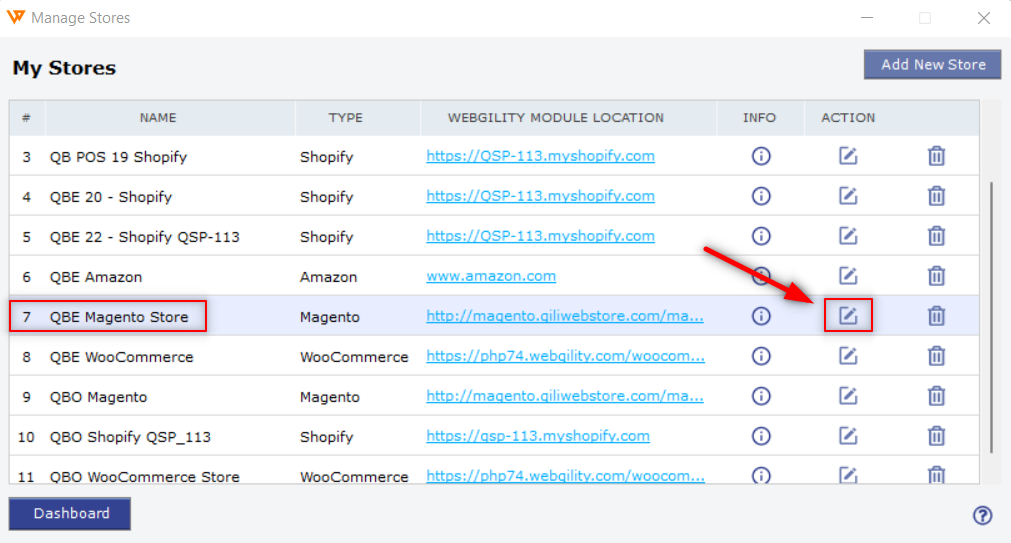
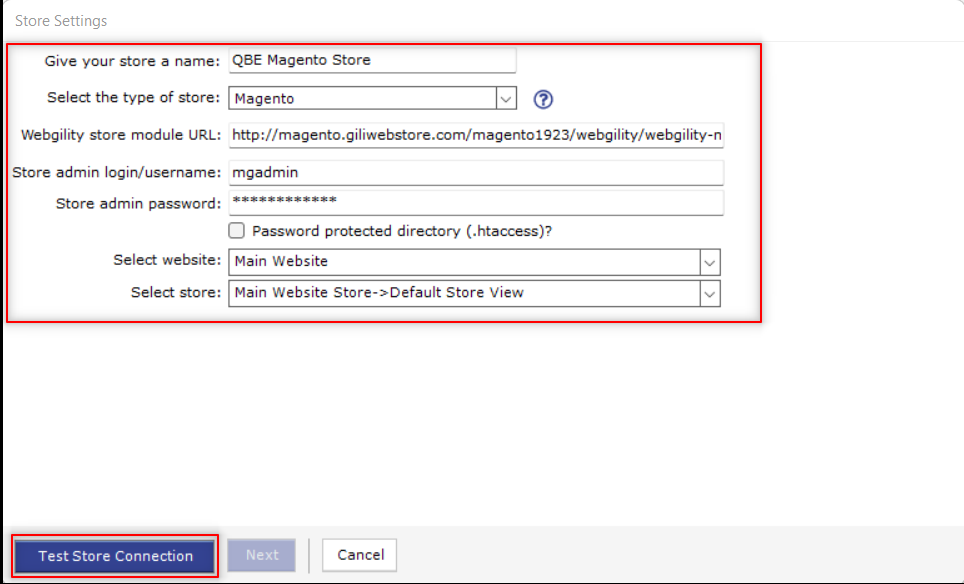
3. For example, If you need to update credentials for a Magento sales channel, after selecting the Edit icon you will be shown the sales channel credentials window. Enter your updated sales channel credentials here and click on “Test Store Connection”.
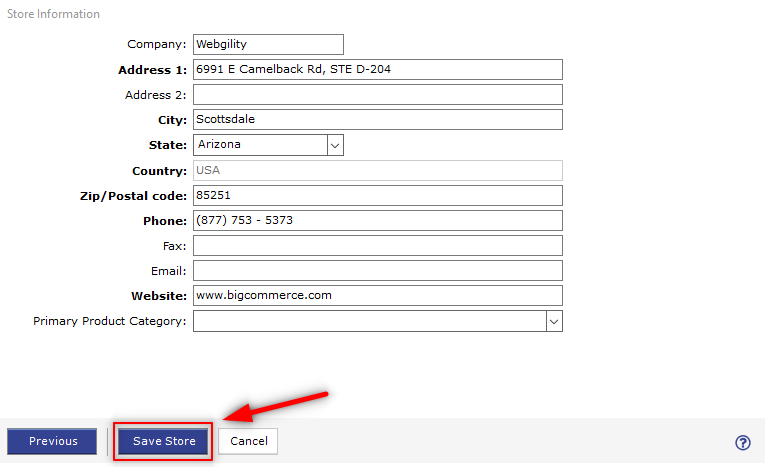
4. Once connected successfully, it will give you the next window to enter the sales channel details and save it.
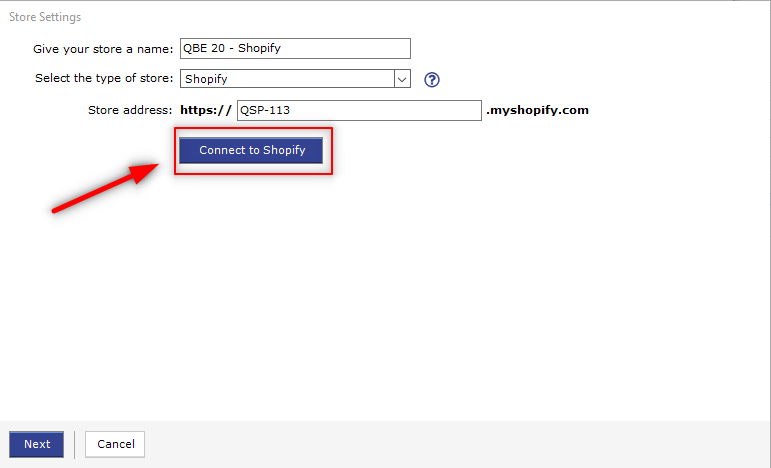
5. If you are updating Shopify sales channel credentials, for another example, you can enter your Shopify sales channel URL and click on “Connect to Shopify”
Note: Based on the sales channel type, this screen may look different.
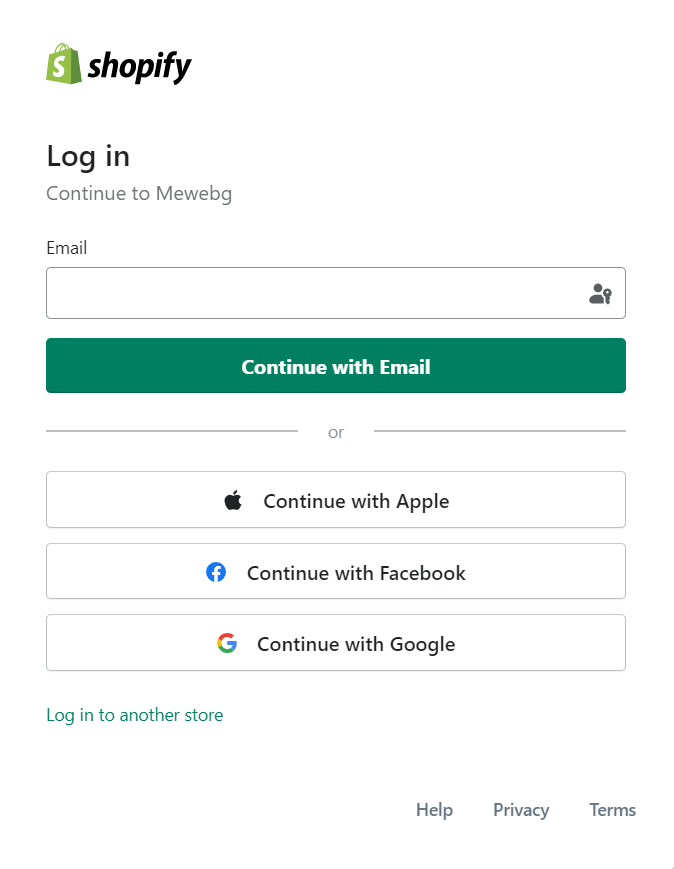
6. After you click on connect, it will take you to the browser window for the Shopify sales channel to log in. Make sure you use the new updated admin credentials to connect it.
7. Once the sales channel is connected, click on the Save Store button on the Webgility store connection page, and close the configurations window.
If the problem persists, contact Webgility Support for further assistance.