Once your sales channel is connected to Webgility Desktop, you will be prompted to connect your accounting software.
1. On the connection screen, select the QuickBooks Online (US) version from the drop-down menu.
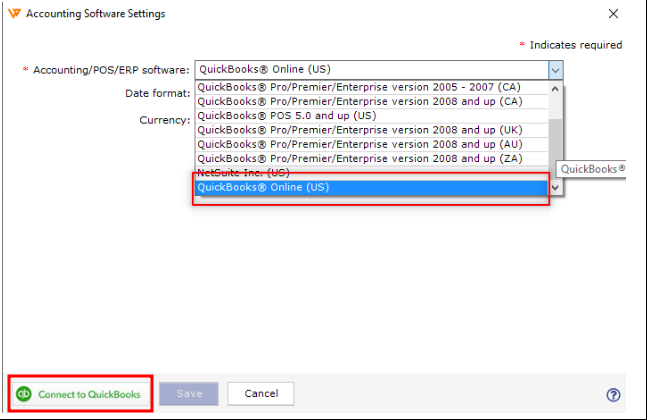
2. Click the Connect to QuickBooks option in the bottom-left corner of the screen. This will the launch the browser and open the QuickBooks Online login page.

3. Enter your QuickBooks Online admin user ID and Password. Then select the appropriate company file should there be multiple company files created in QuickBooks.
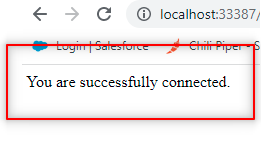
4. Once the connection is successful and the data download is complete, you will get receive notification of a successful connection.
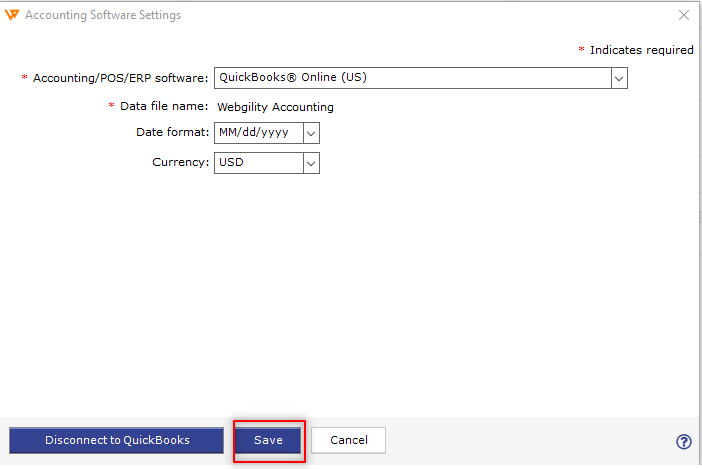
5. Return to the Webgility Desktop application and click Save.
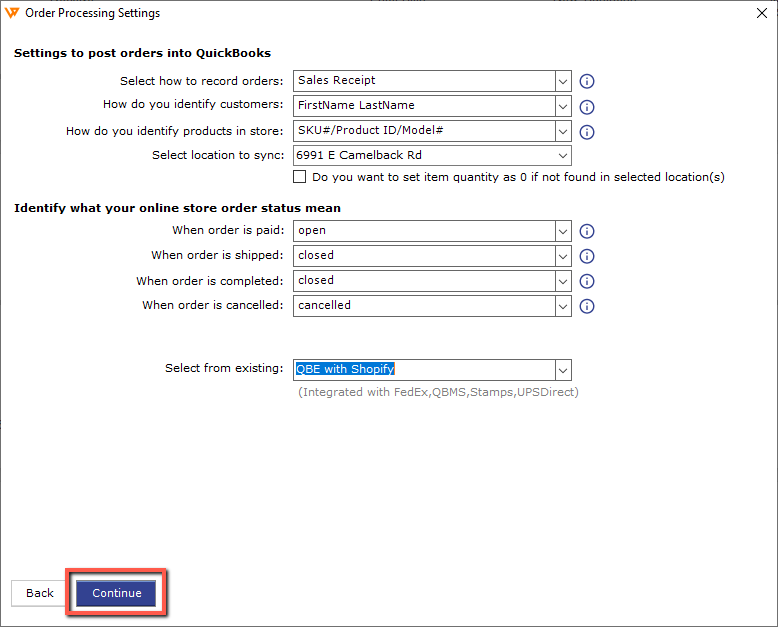
6. You will be redirected to the Order Processing Settings. Here make the appropriate selections to configure your basic settings then click Continue.
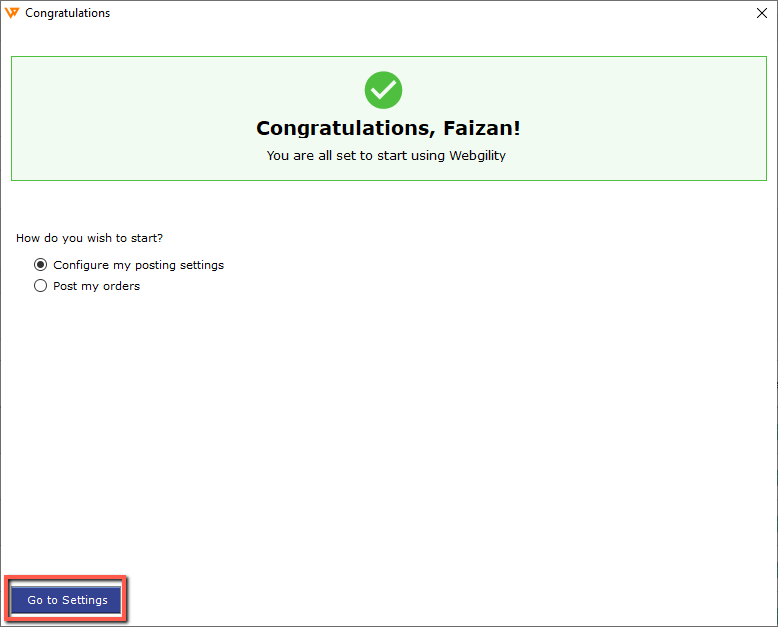
7. Select Configure My Posting Settings for detailed configuration and rule set up for posting your orders to QuickBooks.
If the problem persists, contact Webgility Support for further assistance.