Follow these steps to connect Webgility Desktop with Reverb
1. In Webgility Desktop, go to Connections > Sales Channels and click Add New Sales Channel. If this is the first channel you are adding, you can skip this step.

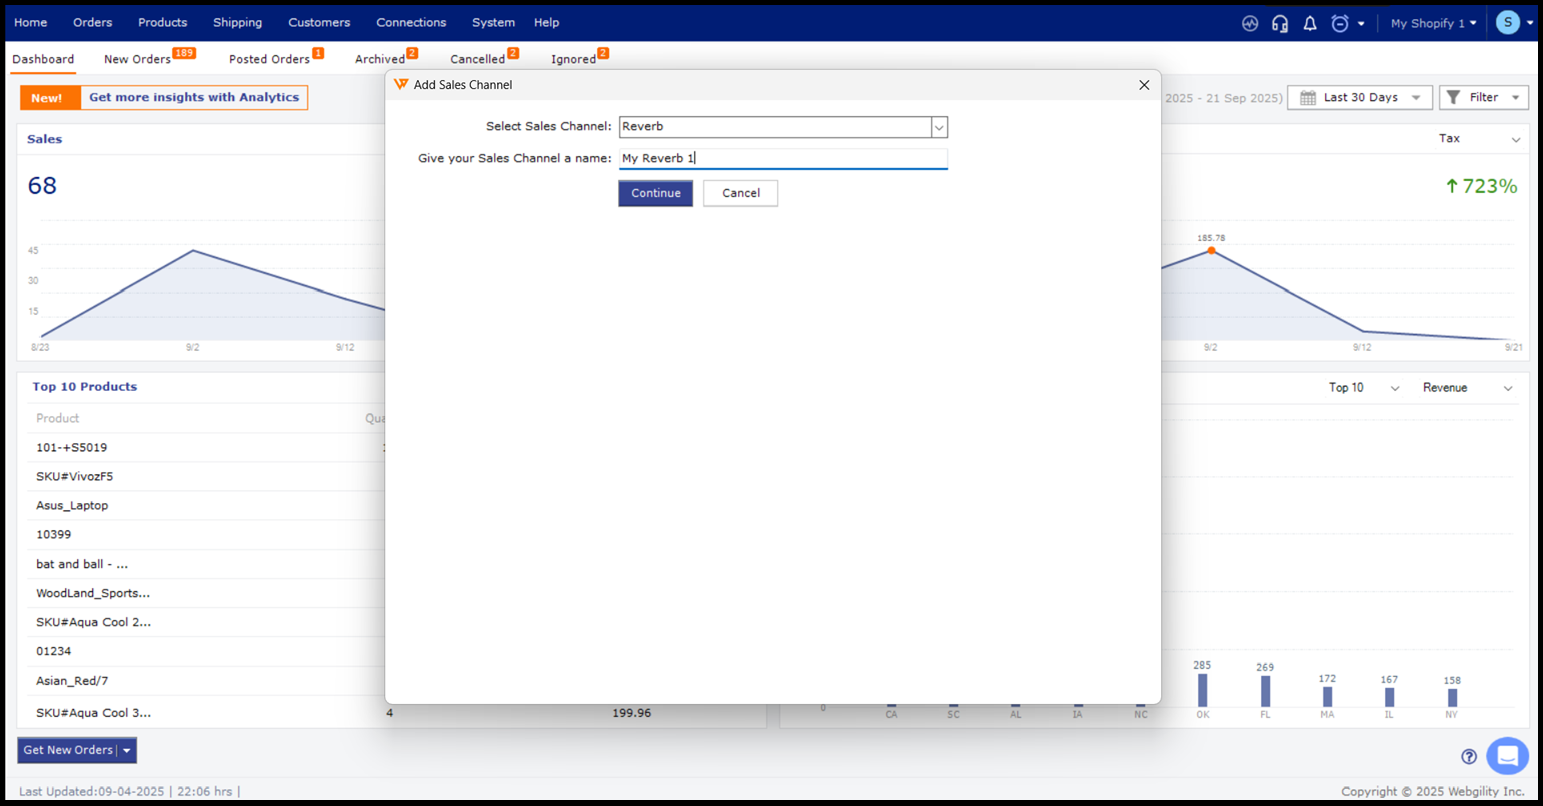
2. In the pop-up screen, select the sales channel you wish to connect, add sales channel a name, and click Continue.
3. Webgility Desktop will then open your default browser and ask you to enter your Reverb credentials, so Webgility Desktop can download the required data from Reverb.
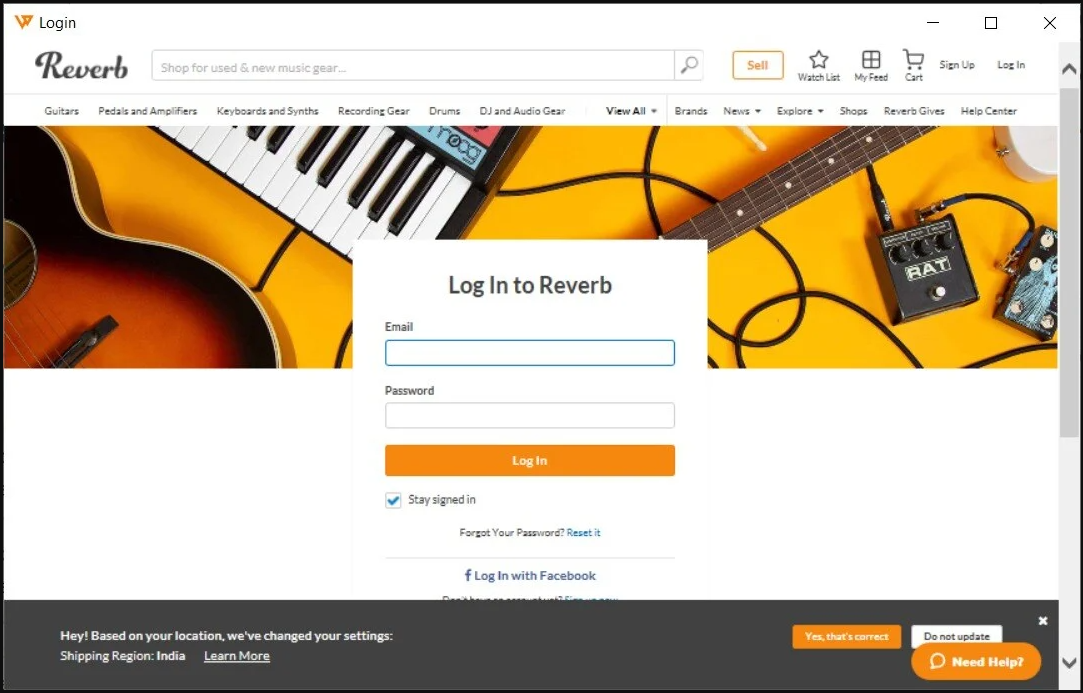
4. Click Continue.
-2.jpg)
5. Enter your business contact information.
Note: Fields with the red asterisk are required.
-3.jpg)
6. The next few screens are for connecting your Accounting, ERP, or POS system to Webgility Desktop. You can get more information on these steps here.