Amazon Reconciliation for Webgility Online
Amazon Reconciliation for Webgility Online
Amazon reconciliation focuses on creating journal entries that are perfectly matched to the deposit in your bank account. In this case, it uses the settlement report data from Amazon.
Steps:
Note:
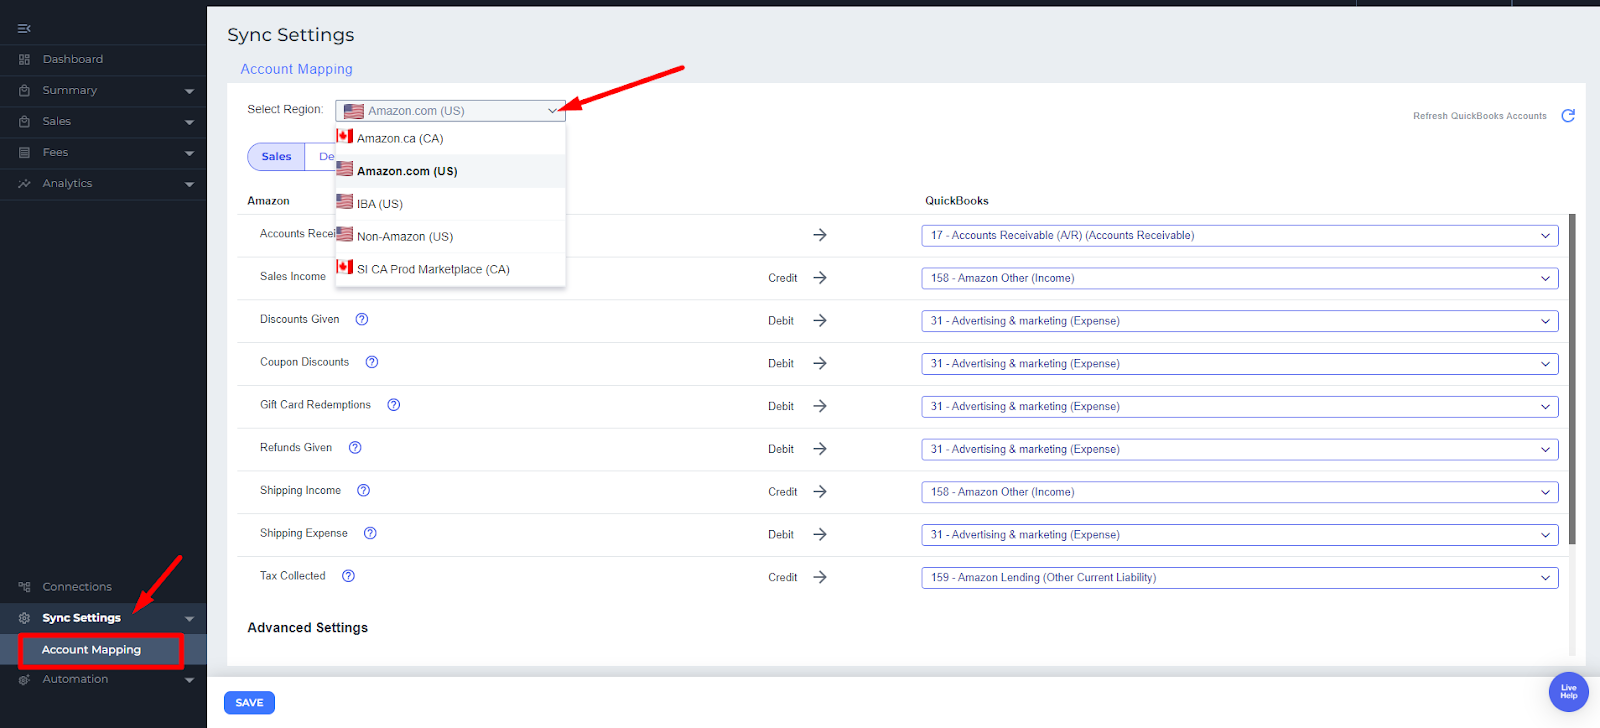
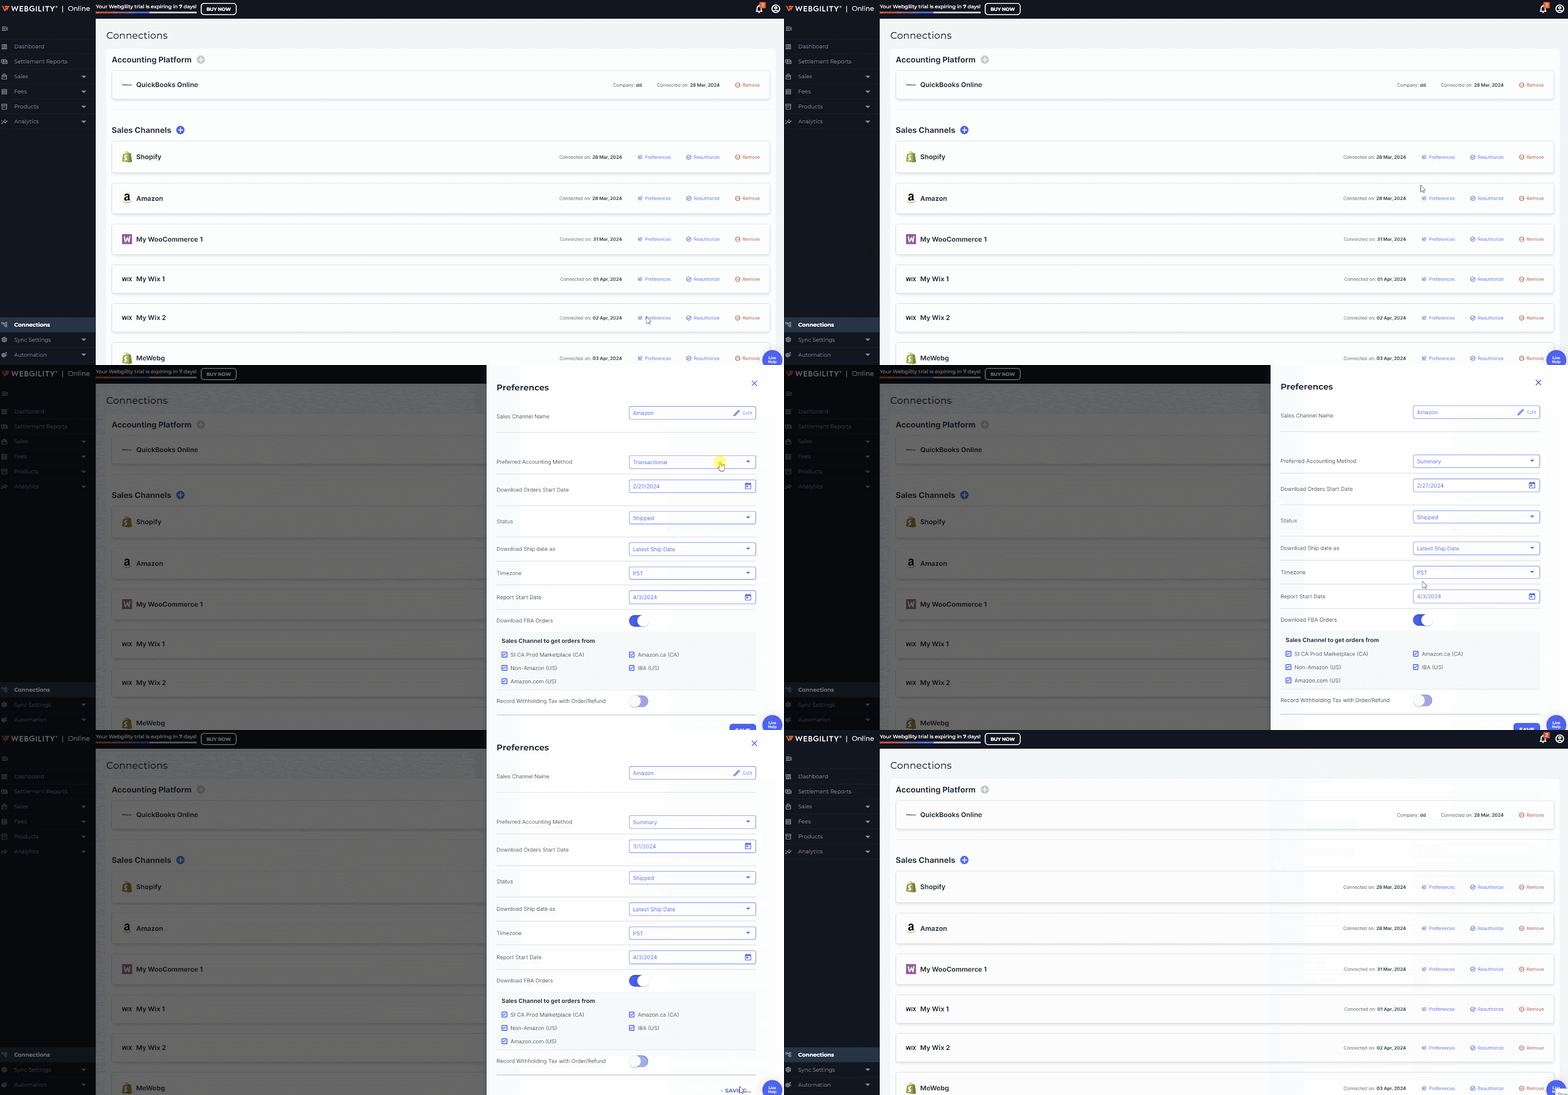
1. For users using Webgility's Basic plan, the above screen will not appear instead will be redirected to Account Mapping settings directly.
2. Amazon is the only payment processor available for all Amazon orders, which means there are no deposits from other processors.
3. You can have different deposits for different Amazon sub-channels. This means a user who is setting up both Amazon Canada and Amazon US will have two separate settings to configure.
4. Webgility synchronizes the reconcilable journal entry only after the availability of the settlement report from Amazon.
Let's Proceed….
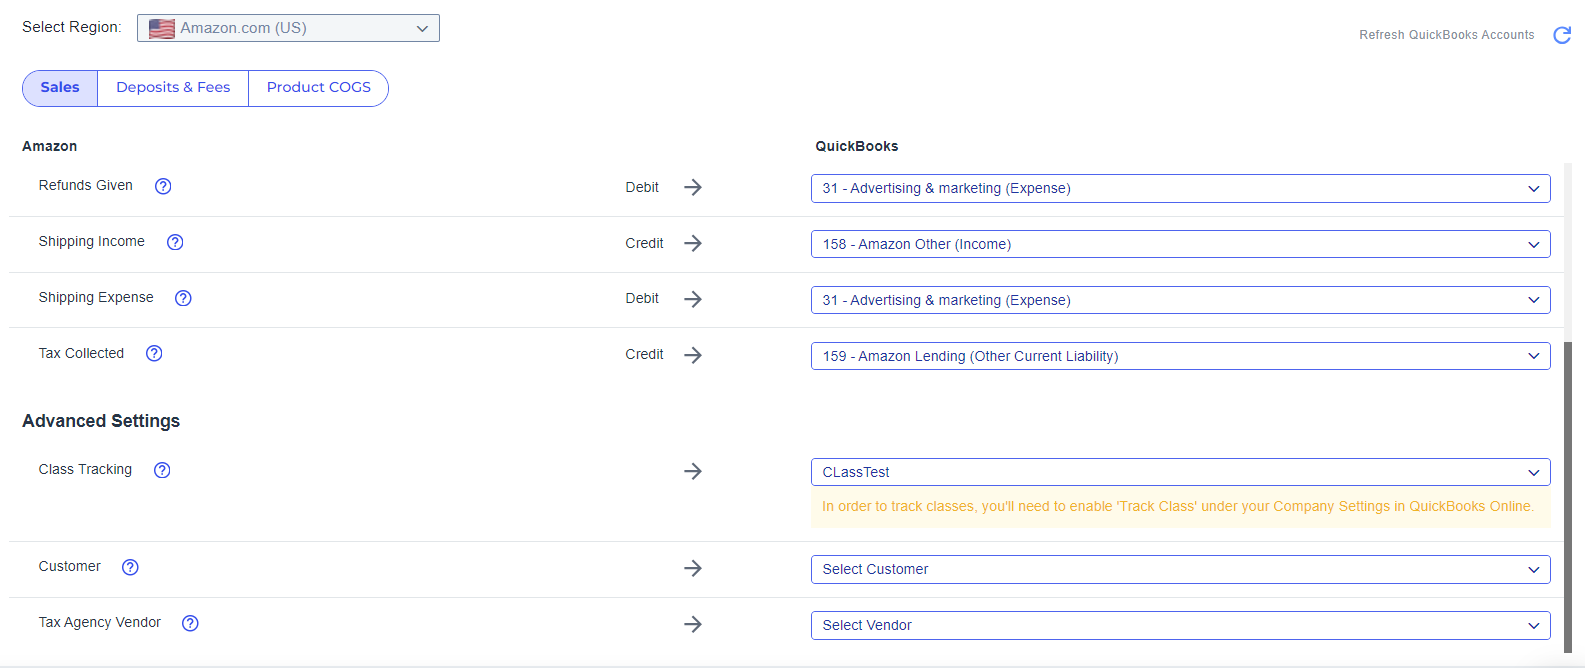
During this process, we will configure deposit and fee settings to ensure that the deposit and fee associated with the order are split and recorded to the appropriate accounts.
1. The deposit account and fees, or expense accounts, for each Amazon settlement line item can be configured in the Deposits & Fees sub-tab under Sync settings > Account mapping.
2. Split fees further: If you would like to split fees even further down to their individual line items, rather than the categories that they have been assigned, you can expand the relevant categories and assign individual accounts.
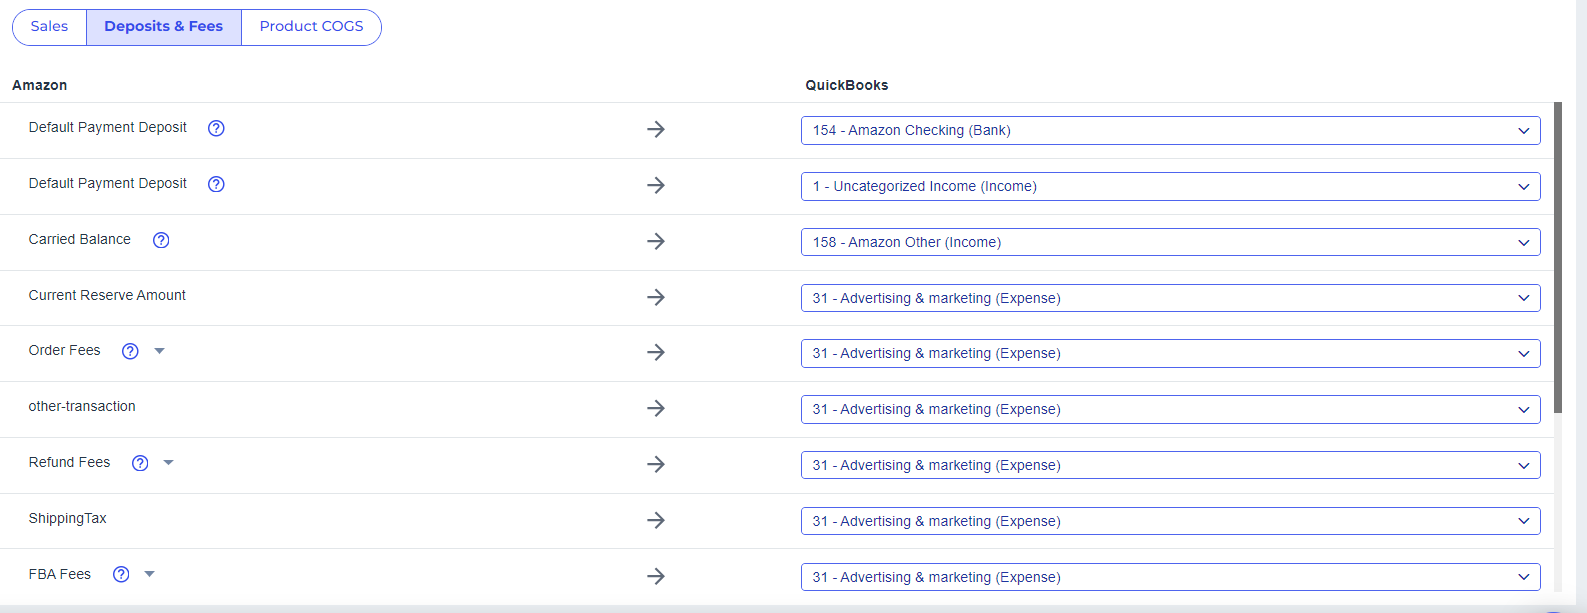
3. After selecting any individual accounts and changing their selection, if the fly-out is closed, the top-level selector for the account will note that it has been assigned to various accounts.
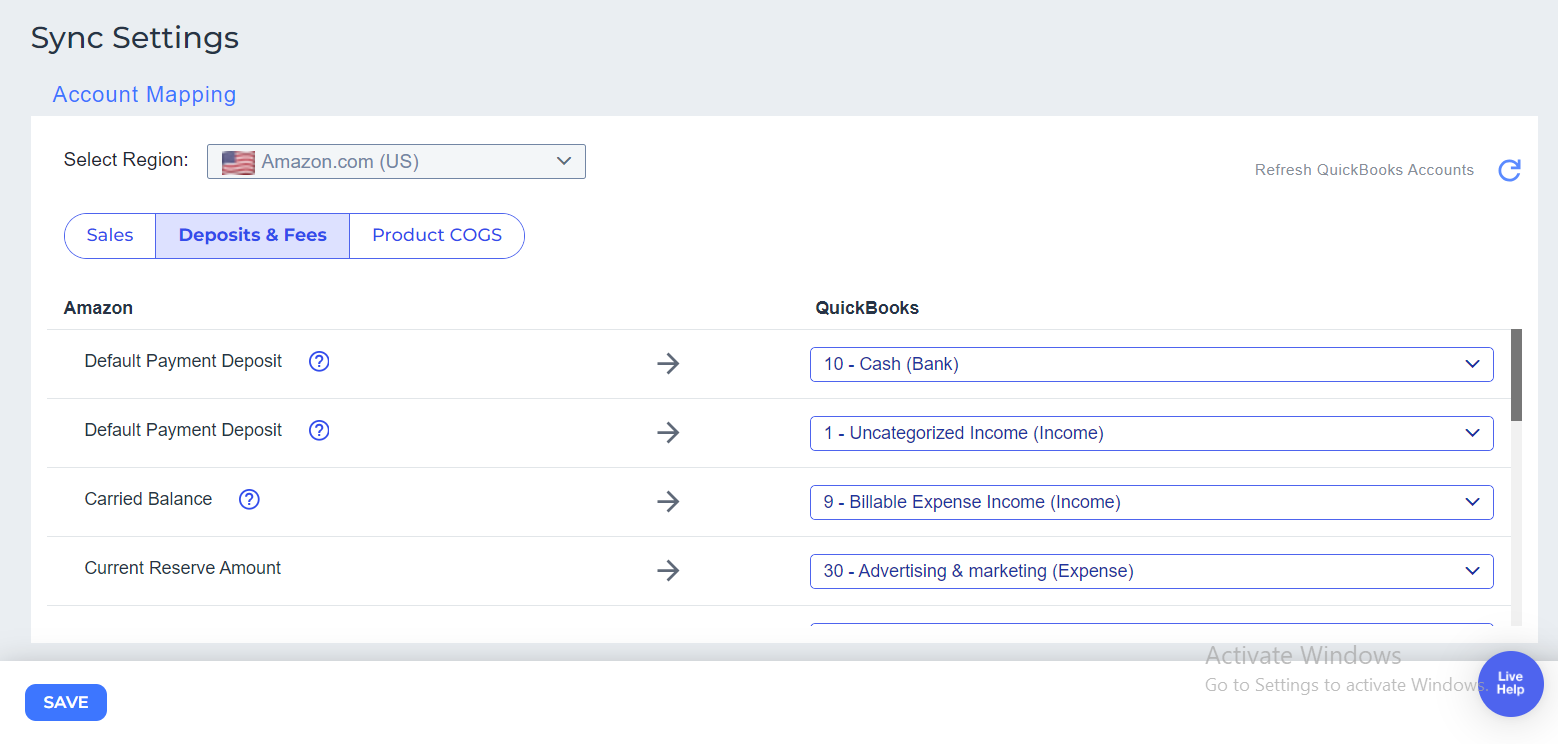
4. The same category can be expanded and remapped at any time, but the chosen accounts will stay selected and should be saved before continuing.
5. Once these settings have been saved, the settlement data will associate itself with batches of orders which will appear in the Settlements tab alongside their Settlement # when they are ready to sync.
Once the sync process is completed, you may open QuickBooks and verify the posted journal entries.
