How to Receive Inventory in Webgility
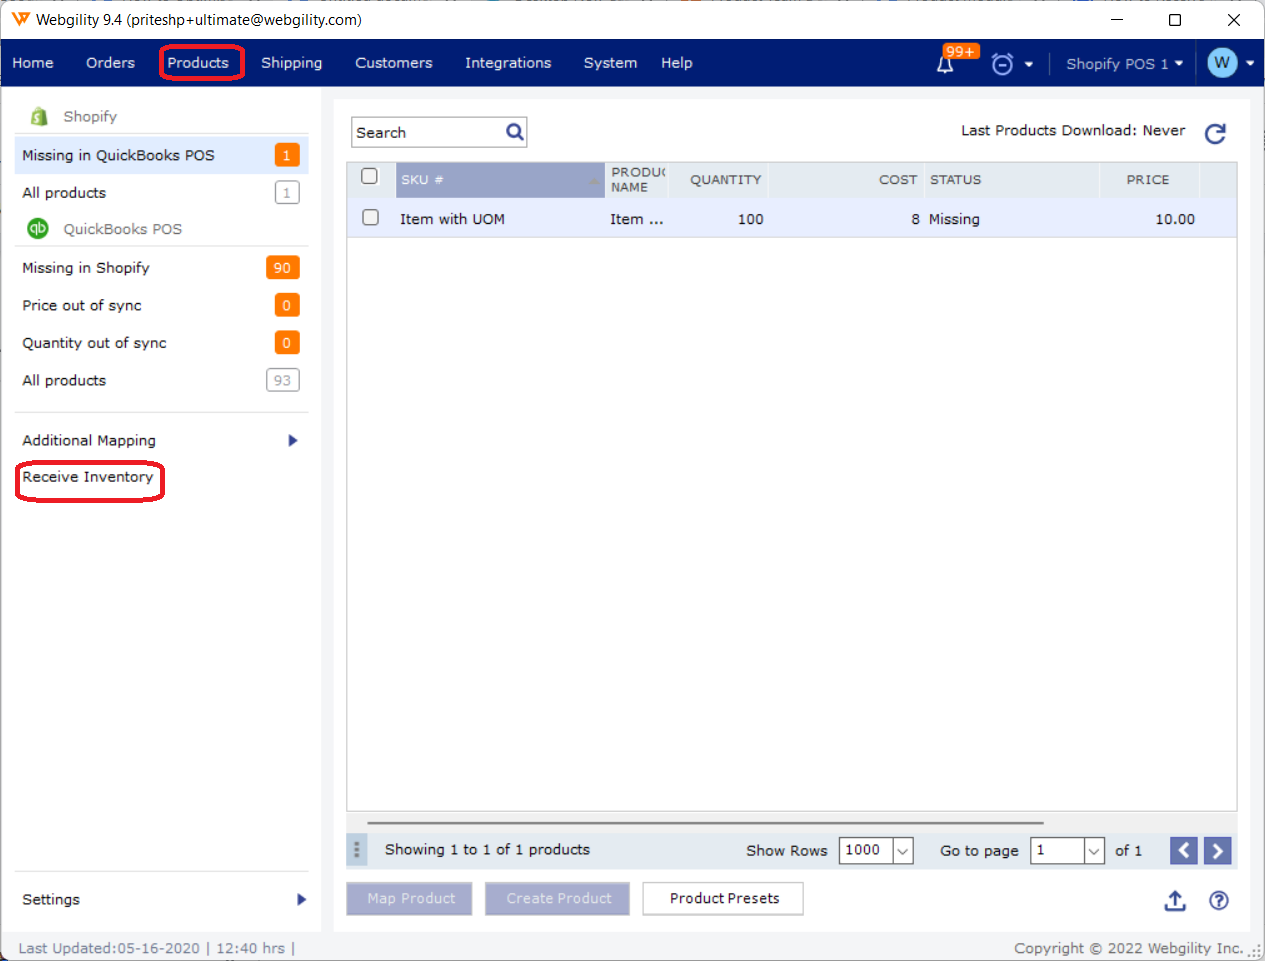
1. From the Products menu, click Receive Inventory.
2. An Import Inventory screen opens if you have never mapped a .CSV or Excel file for this particular application.
3. In the Import Inventory screen click Next to import a .CSV or Excel file from the chosen path in your system.

4. Under Map to Column, select the appropriate matching options corresponding to the field names displayed under Webgility Field Name. Then click Next.
Notes:
-
Three fields are required to import inventory, including the Item Name, Vendor Name and Total Quantity Received.
-
Purchase Order Number is not required. Item receipts or vouchers can be created for receiving inventory without an associated Purchase Order. Additionally, receiving inventory on existing Purchase Orders must have the Purchase Order originally created in QB POS by Webgility when posting orders.
-
There are several optional fields that can be mapped as well. Additionally, if the .CSV or Excel file has extra columns or fields that are not used, they can simply be ignored.
-
In the example below, you can see this .CSV has had all of the relevant columns mapped, but still has extra columns of data leftover, which will be ignored during the import.


5. Preview the inventory to be imported, associated PO number, quantity, and description. Once done, click Import Items.

Notes:
-
In the future, when you click Receive Inventory, you will no longer be asked to map columns, you will simply be able to upload a spreadsheet and review it before posting.
-
If you ever need to map new columns because the format of the inventory import has changed, you can go back and remap columns from the same screen.