
Note1: The payment-update workflow in this article applies to invoice-type transactions, including Shopify B2B orders only. It is not documented for sales receipts.
Note2: If Each Payment as received from Sales Channel feature is unavailable , the you might need to upgrade your subscription in order to include the required feature. You can connect with your account manager to review your plan.
Symptoms
You may be affected if you see any of the following:
- A payment received in Shopify is missing from the matching QuickBooks invoice.
- An unpaid Shopify order shows as paid in QuickBooks.
- The Record Payment option is unavailable or appears disabled.
- Payment syncing stopped after it was previously working.
A missing payment can occur without an error message.
Step 1: Confirm your order transaction settings
-
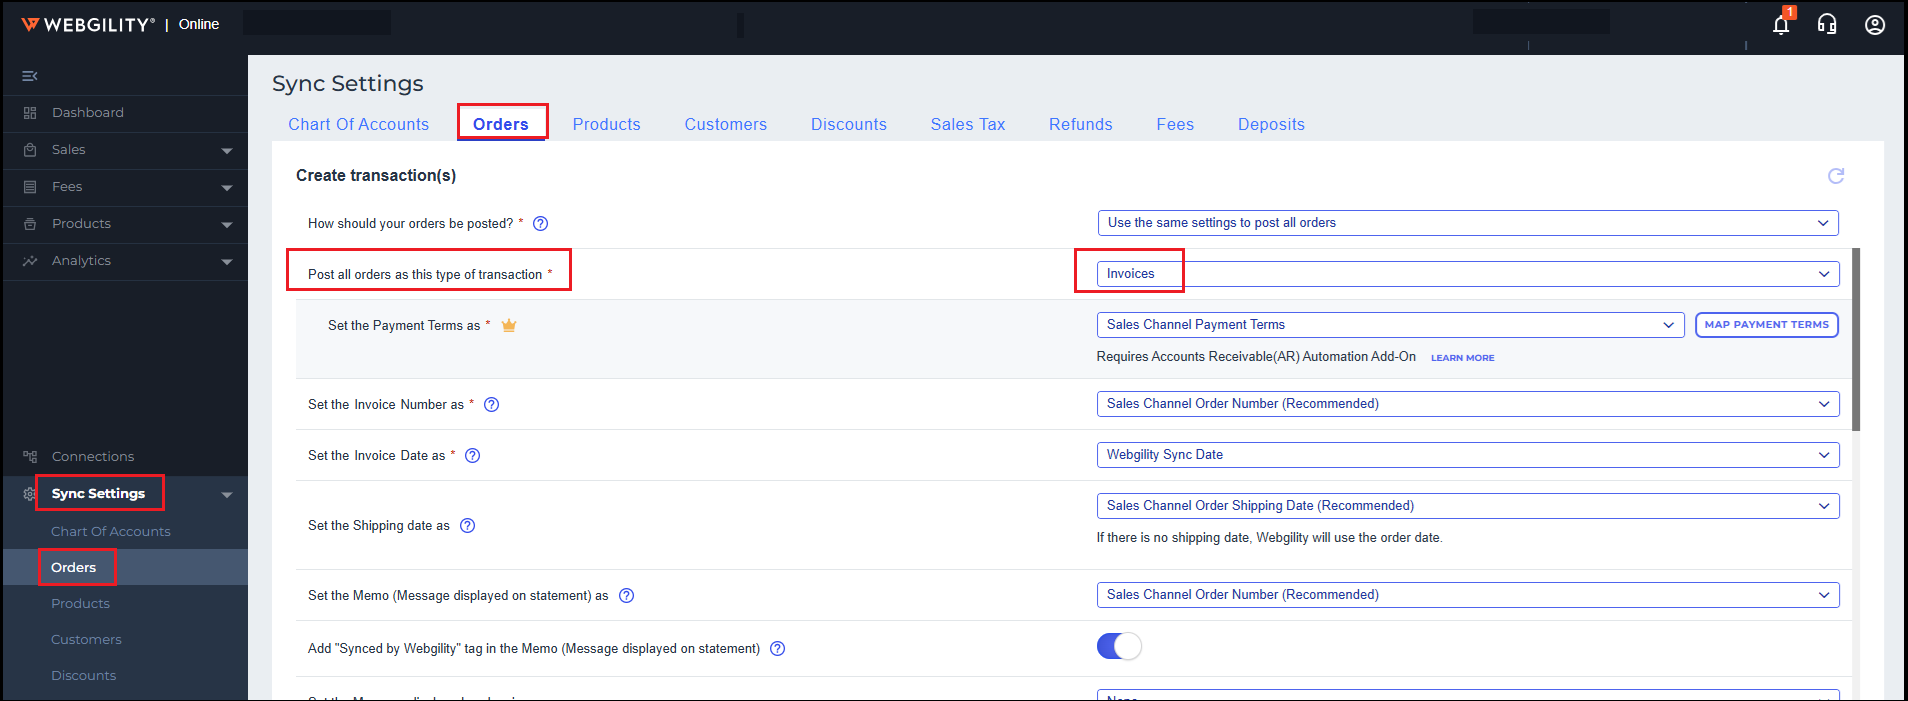
In Webgility Online, go to Sync Settings > Orders.
-
Confirm the transaction type is set to create Invoices.
-
Scroll to the Payment section.

Step 2: Configure payment recording
- Turn on Record Payment.
- Under Record payment in QuickBooks as, select Each Payment as received from Sales Channel.
- Set your Deposit Account and Payment Method to match your accounting workflow.
- Click Save.
This option records payments exactly as they were received in Shopify. Turning on Record Payment alone does not guarantee that unpaid orders keep the correct status, so make sure this option is selected.
Step 3: Accept the pending payment update
When a payment is received on an existing Shopify order, Webgility Online downloads it and moves the order to the Updates tab.
-
Open the Updates tab.
-
Select the affected order.
-
Review the update, then click Accept.
-
Click Yes in the confirmation window. Accepting the update creates the payment against the existing QuickBooks invoice.
Step 4: Verify in QuickBooks
Open the invoice in QuickBooks Online and refresh the page.
Confirm the payment is recorded on the correct invoice and matches the amount received in Shopify.
For a fully paid order, confirm the invoice shows Paid in Full. Unpaid or partially paid orders will not show this status.
For more information on this feature, please visit the article