Overview:
When attempting to create a UPS label through Webgility Desktop, you might come across an "Invalid Shipper" error, this usually happens because of an issue with the payment settings on your UPS.com account.
Steps for Troubleshooting
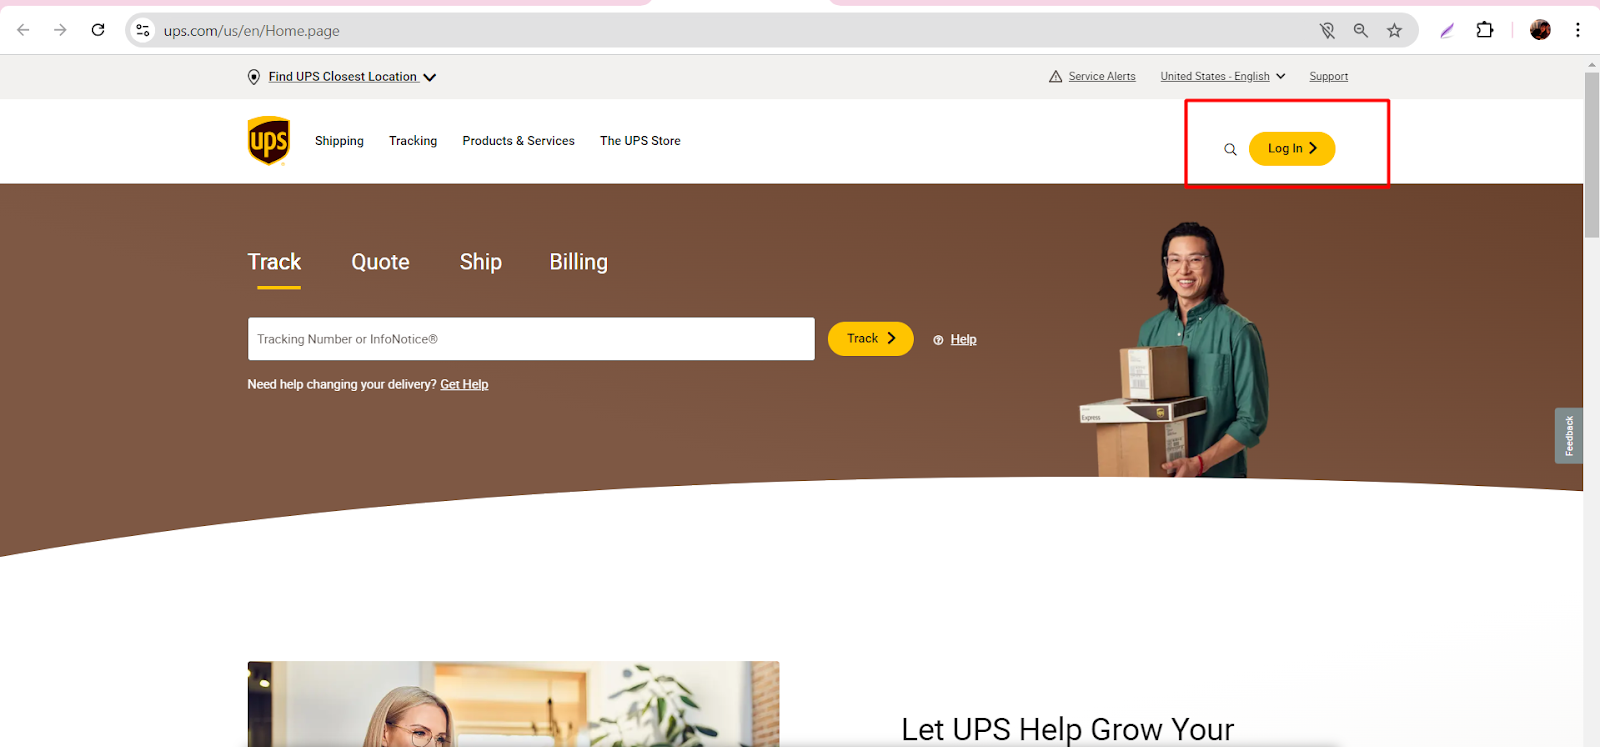
Step 1: Login to UPS.com
Visit www.ups.com and click the "Login" button in the top-right corner of the screen. Enter your login credentials, including your user ID and password, and click "Log In" to access your account.
Step 2: Navigate to Payment Options.
Step 3: Add Your UPS Account Number
In the "Payment Options" page, you will see the "Add Existing Account" button. Click on it and enter your UPS account number in the field provided. Once you have entered the account number, click "Add Account" to save it to your UPS.com account.
Step 4: Generate the Label
Navigate back to Webgility Desktop and try to generate the label now, you should now be able to generate the label without encountering the "Invalid Shipper" error. Simply complete the shipment details as normal.