Having trouble transferring new items to your store? Below are helpful steps to make product transfer easier:
1). Navigate to Connections> Get latest data and settings> Download online store settings> Download Data

2). On the same window navigate to Connections> Get latest data and settings> Download Quickbooks data and settings> Download Data.
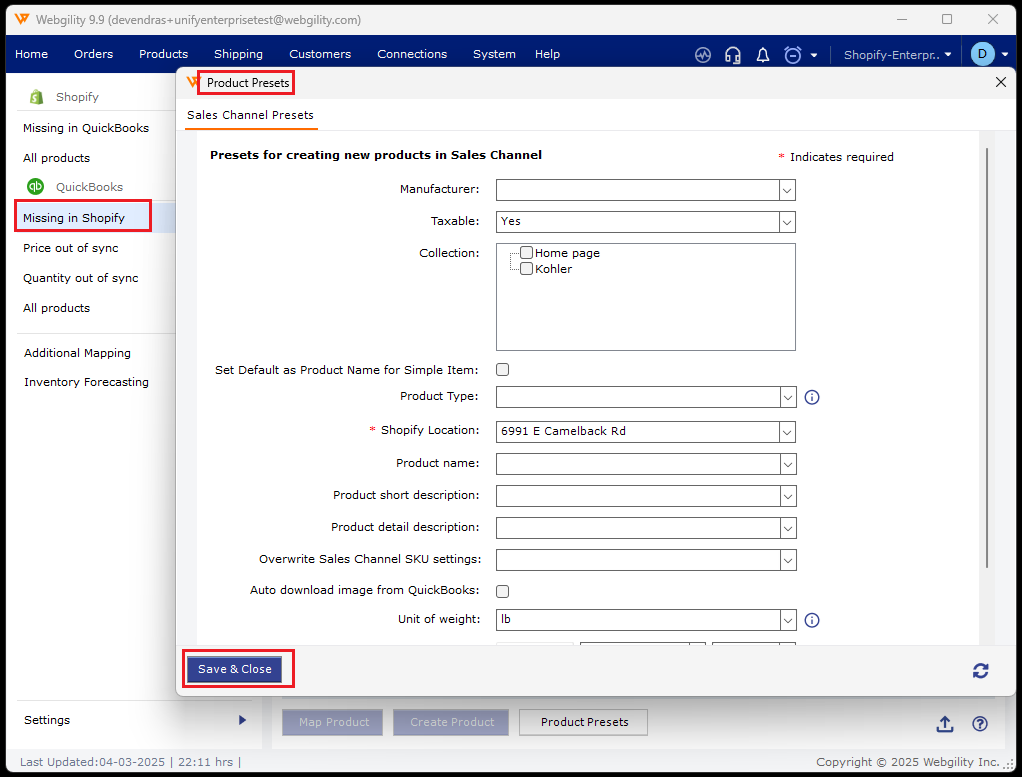
Now navigate to Dashboard> Products> Missing in Shopify> Product Presets> configure the required settings> Save & Close.
In the same window under Missing in Shopify item list type the product name into the search field in order to show then select it. Once done click on Create Product at the bottom of the window.
This will open the Create Products window where you can make all the required settings on how you want the product to appear in the store. Once done then click on Continue at the bottom of the page. You will see a message that states You are about to create Products in Shopify. If all is good select Continue. After the products are made in your online store, you will see the message Successfully Created.
Note: This feature applies to only supported sales channels.