Steps to follow:
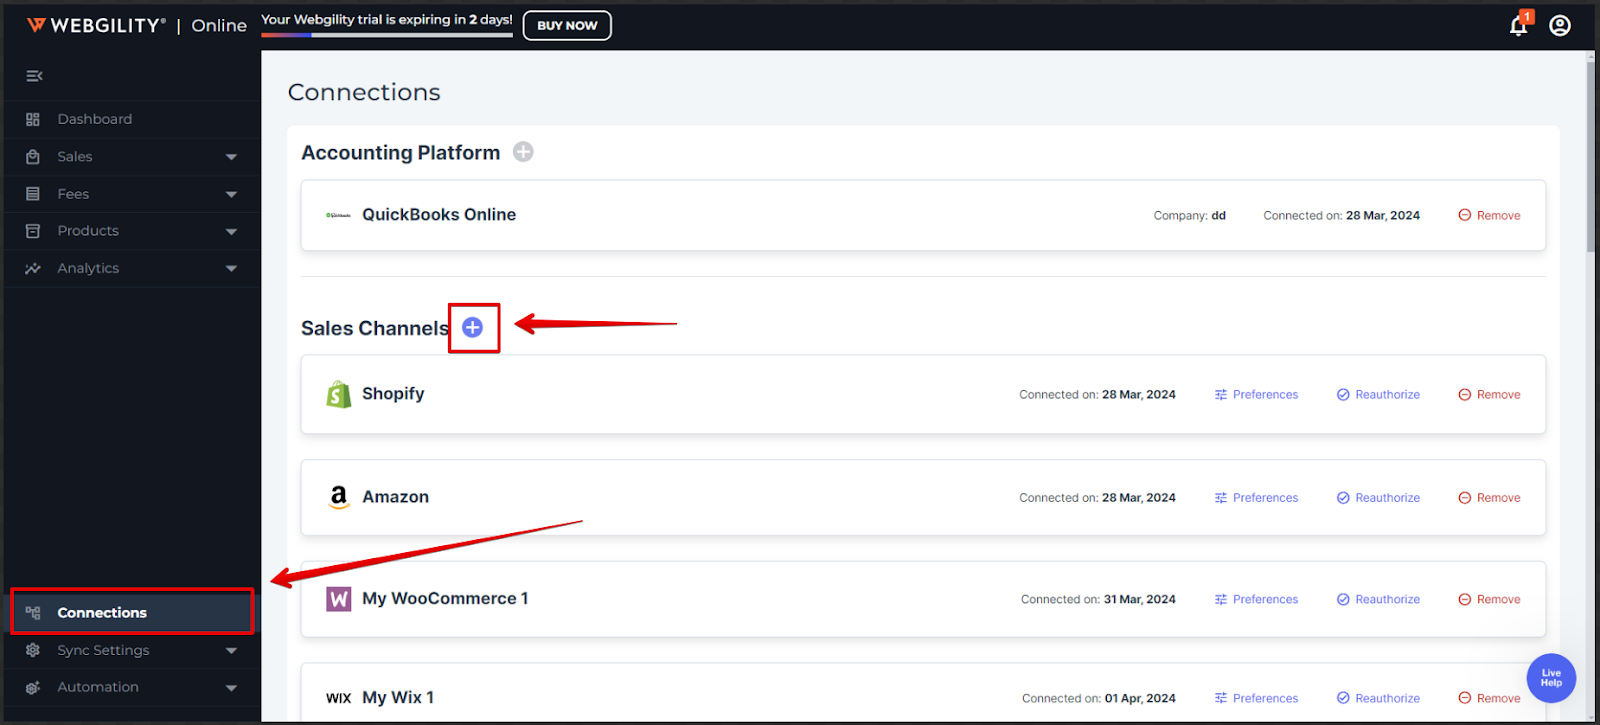
1). Go to Connections. Click the blue color Add (+) button in the Sales Channels section.
2). Select Amazon Europe as a sales channel and click on Continue.
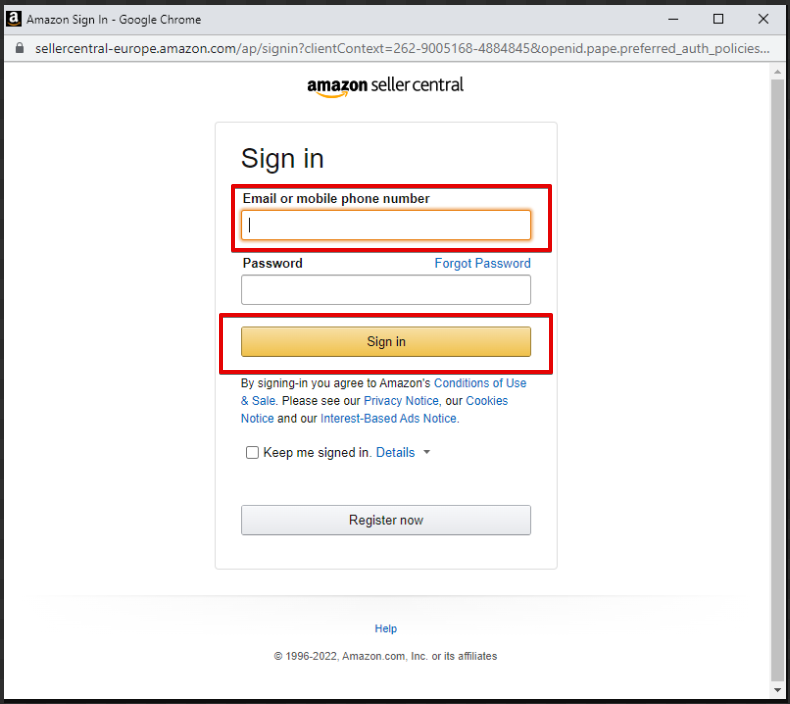
3). Sign in to your Amazon Europe Seller Central and then click on Authorize.
4). Then select the account

5). Authorize the permissions to the application by checking the box and clicking on Confirm

6). And then Webgility Online will return with success message

7). Once you successfully add Seller Central—Europe Amazon, you must configure the QuickBooks settings in Webgility Online. refer article