Overview:
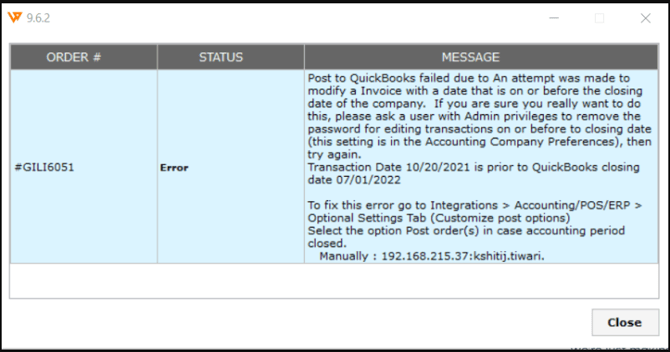
Finding a way to enter historical orders in QuickBooks Desktop after the accounting file has been closed is difficult because QuickBooks Desktop does not allow you to record transactions from earlier dates after the accounting file has been closed. You may see an error as shown in the below screenshot while posting the order from Webgility Desktop into QuickBooks Desktop.
Webgility Desktop can help you out here! This article illustrates how we can post the historical orders from Webgility Desktop to QuickBooks Desktop after closing the accounting file.
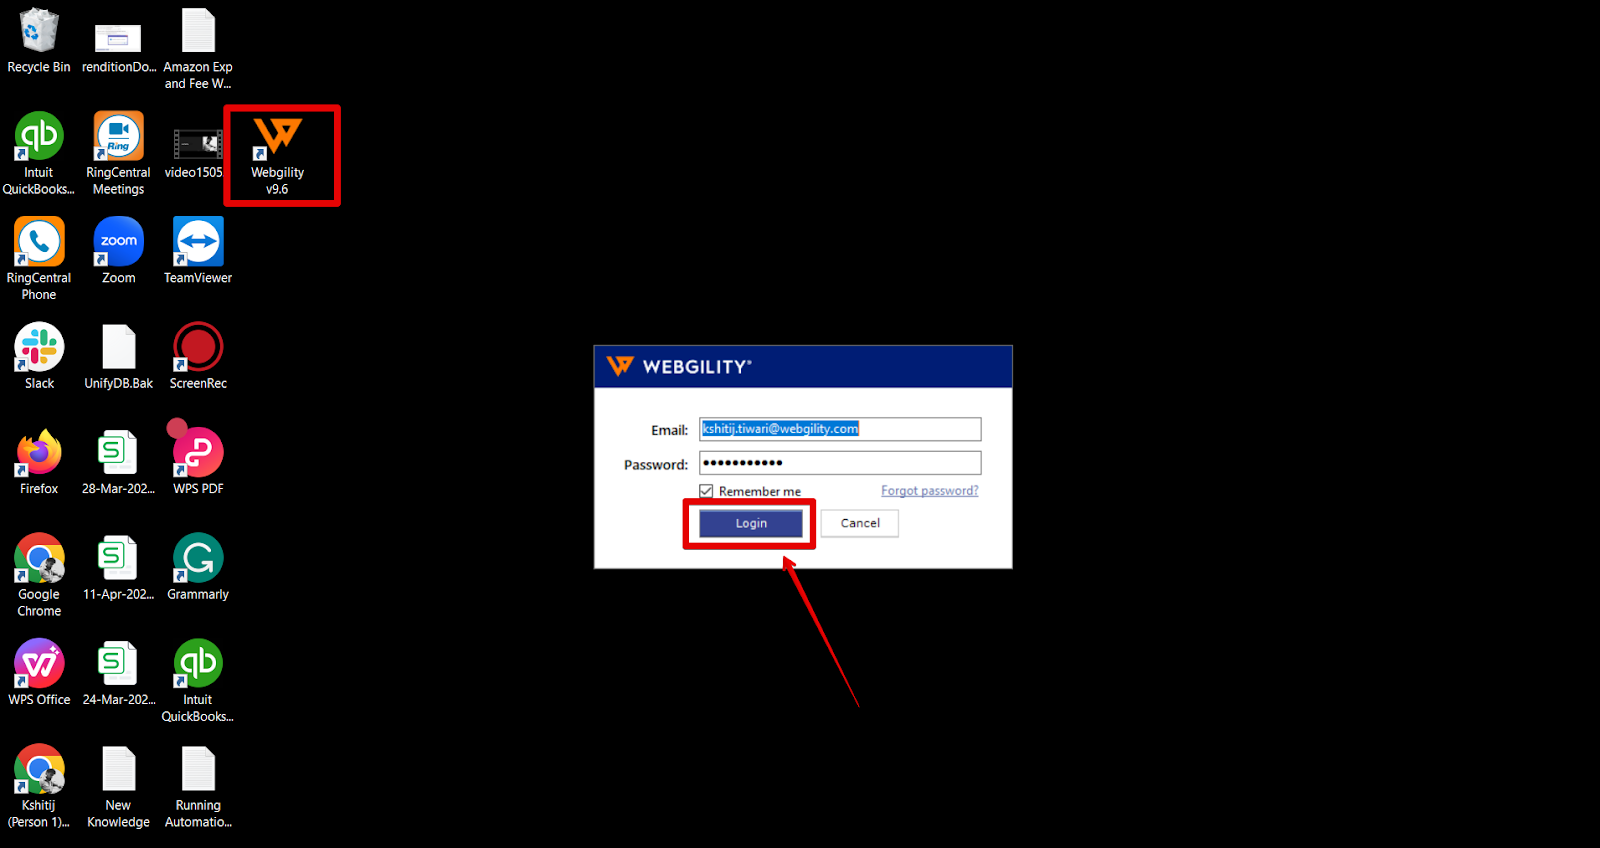
1). Open the Webgility Desktop application. Click Login.
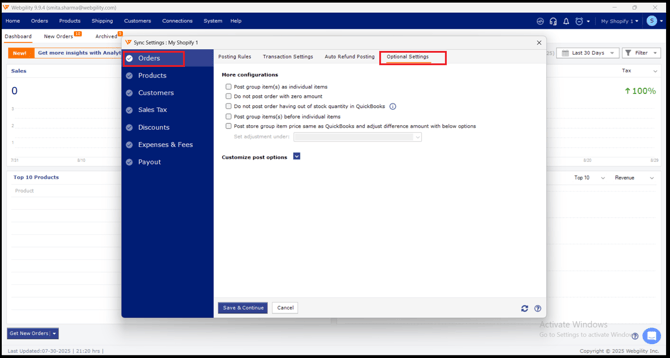
2). Once logged in, click on Connections> Accounting/POS/ERP> Sync Settings.
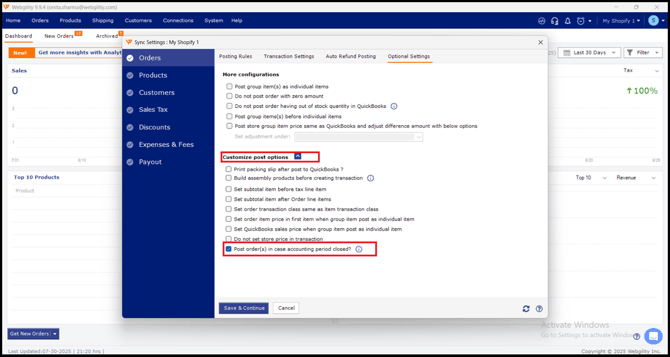
4). Click on the drop-down arrow next to Customize post options and check the option “Post Order(s) in case the accounting period closed?” Refer to the image below.
Pro Tip:
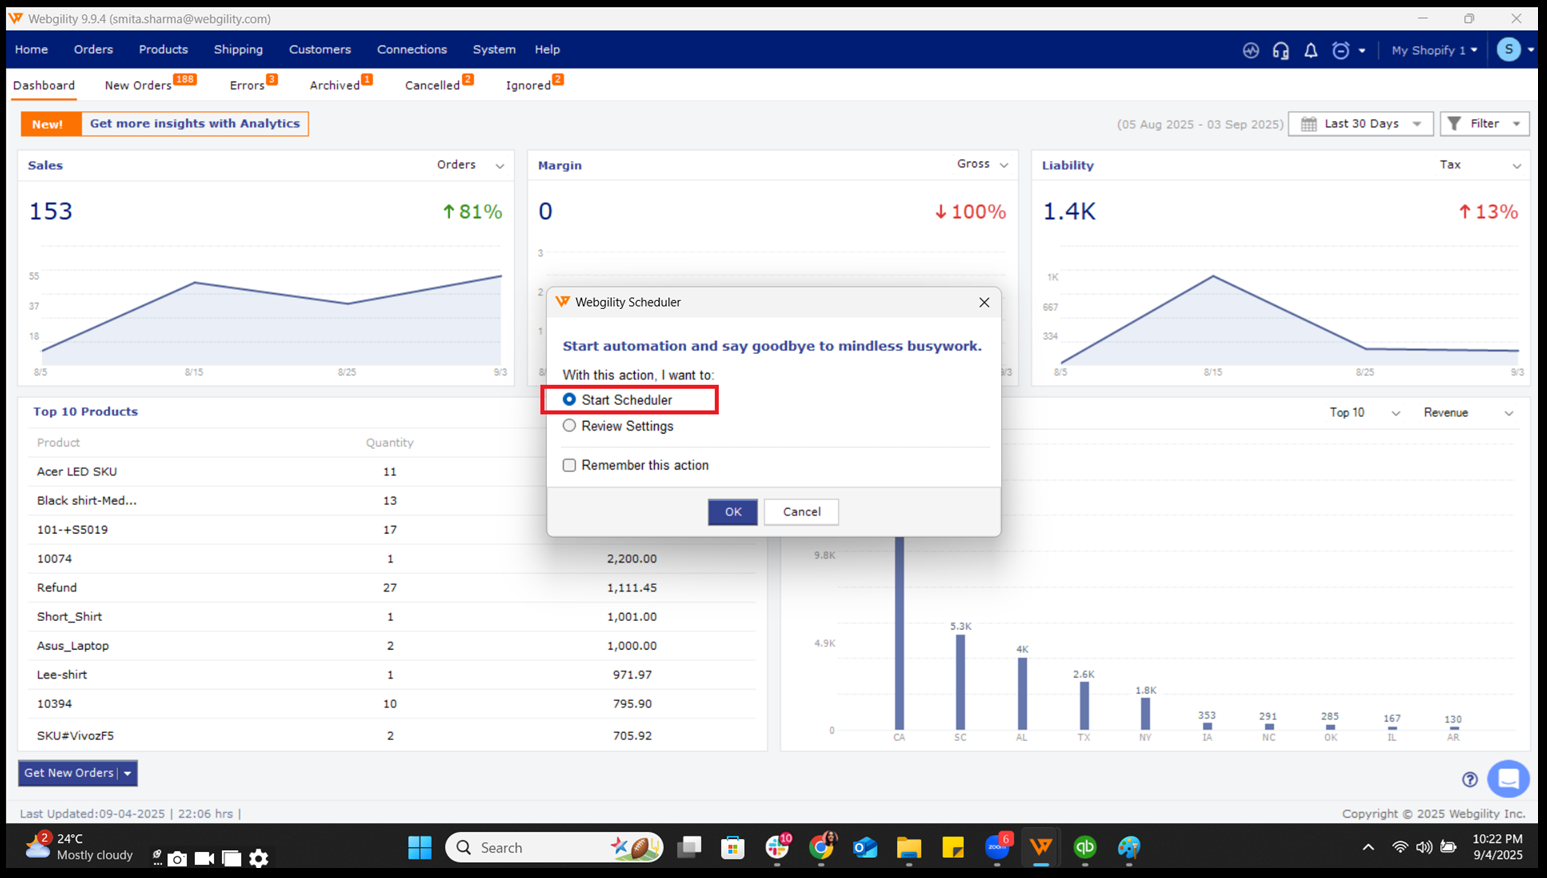
1). Before we follow these steps, make sure to stop and exit the Webgility Desktop Scheduler completely, and make sure it is not running in the background. Refer to the image below:

2). Save the settings as mentioned in the above steps and then restart the scheduler.
3). Orders will be posted to QuickBooks Desktop using either the payment date or the current date whichever is earlier.
4). All the orders should be posted without issues
Here is how a historical order will appear in QuickBooks Desktop after enabling the setting in Webgility Desktop


