Caution: If you're using a customized store module (extension), please reach out to our support team for assistance with the upgrade. Do not upgrade it yourself or follow the instructions below, as a customized setup requires specialized handling to ensure everything works smoothly.
Note: This Article uses WooCommerce channel as an example
The steps below will show you how to check the version of the Webgility Extension, and how to find the latest version and upload it to your sales channel.
Check the latest version of your sales channel Webgility Extension:
1. Login to Webgility Desktop using the Primary User Credentials.
2. Navigate to Connections and Sales Channels then click on Manage Sales Channels.

3. In the Manage Sales Channels list, click on the button in the action column.
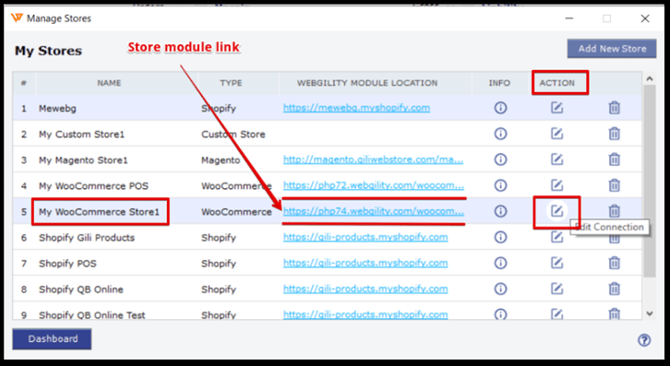
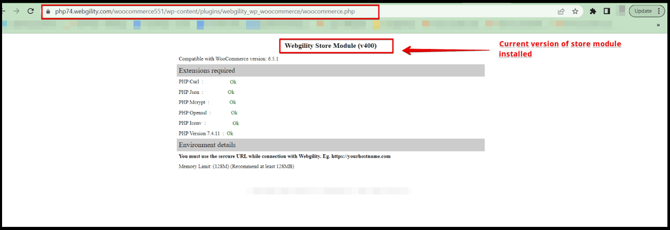
4. Open the Webgility Extension link in the browser window. At the top, it shows the current version of the Webgility Extension installed.
Upload the latest version of the Webgility Extension:
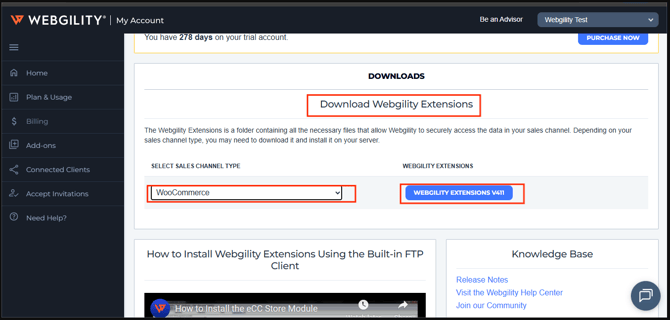
1. Login to your portal.webgility.com, scroll down under the Downloads section, click Modules.

2. On the next page, under “Download Webgility Extension”, select the sales channel for which you wish to download the Webgility Extension from the dropdown, then select the blue button next to it.
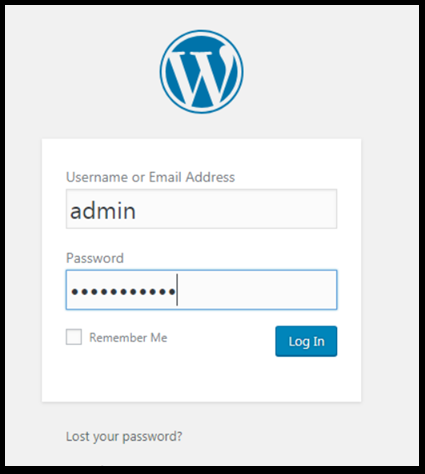
3. Once you download the file, log in to your WordPress site, for example, using your sales channel admin credentials.
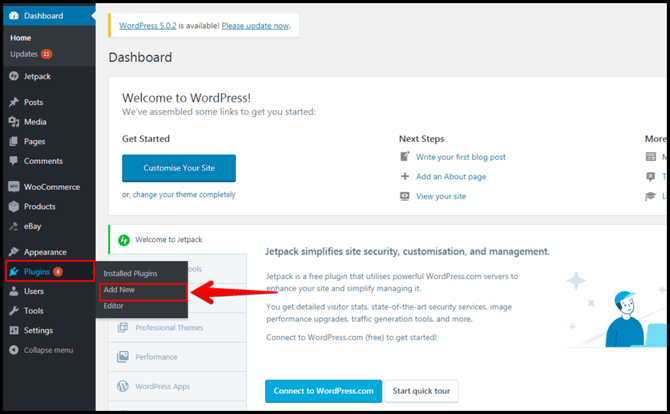
4. In the left navigation bar, go to Plugins then Installed Plugins go to Webgility and Delete.
5. Then, go to Plugins and click on Add New.
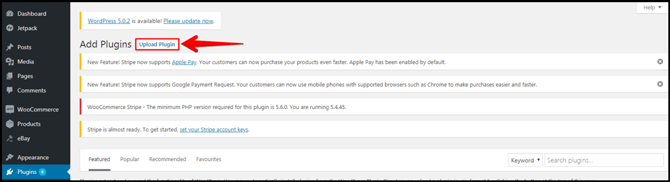
6. Click Upload Plugin, then in the pop-up navigate to the Webgility Extension zip file that you downloaded in the previous steps.
7. Click on Install Now.

8. Once activated, select Settings below Webgility then select Copy URL.
9. Once you have copied the URL of the Webgility Extension, proceed to the next steps.
10. From the Webgility dashboard, navigate to Connections then Stores go to Manage Stores and Edit Connection.
11. Paste the copied sales channel URL and click on Test Store Connection and wait until you see the message Successfully Connected to your Online Store.
12.Once the store is connected click on Next, fill in the store information and click on Save.