Steps to follow:
In Webgility Desktop navitgate go to Shipping> Library> Shipper Address
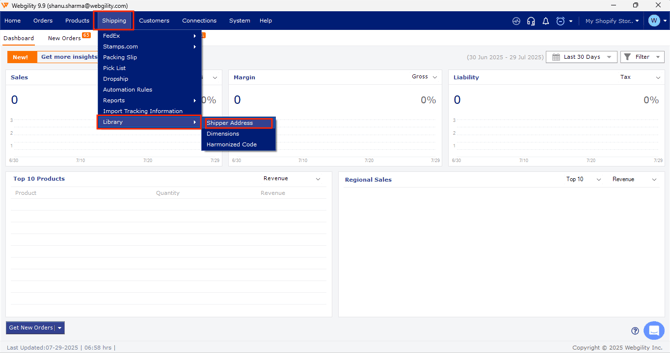
This will open another window with a Shipper Address List. Here, click on Add and enter the address you want to add. Once done, click save. This will show the added address in the lower section of this window. You can use the same process to add multiple different shipping addresses.
Setting default shipper address:
You can also set the default shipping address for each shipping provider you have integrated with Webgilty Desktop.
For this go to Shipping> Automation Rules.
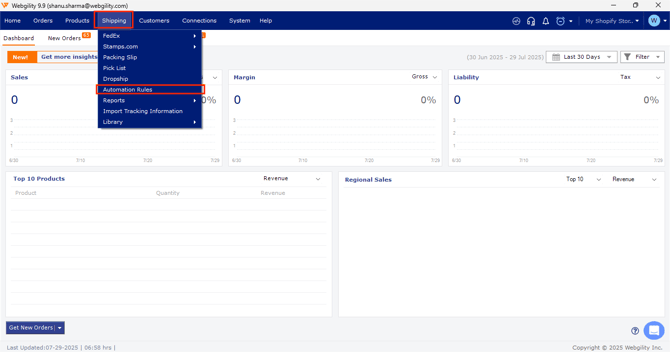
This will open the Shipping Settings, then go to Shipping rules> Default settings for each processor and select Configure to set the default shipping address for the shipper.
This will take you to the Configure Default Settings page.
Here, check the box for Add. List: the drop-down will show all the shipper addresses you have added in Webgility Desktop Shipper Library. Select your preferred shipper address and save the setting.
This default address will automatically be selected while processing shipping using Webgility Desktop.
If you want, you can still change the shipper address while processing shipping through Webgility Desktop.