Log In:
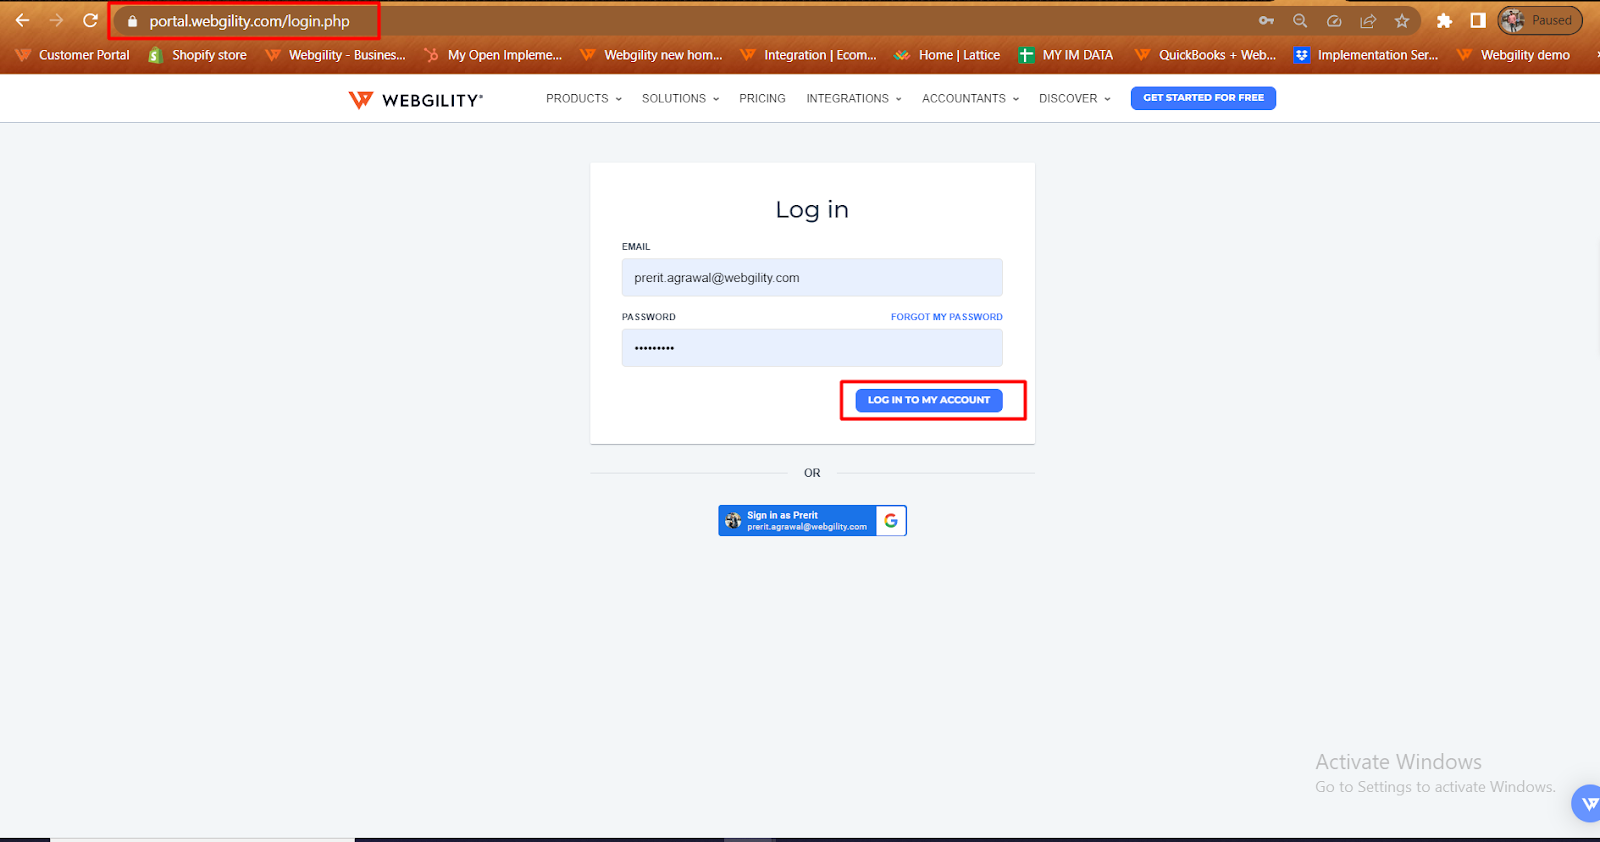
1. Go to the URL https://portal.webgility.com and log in with your registered email ID and password.
Create User:
2. Click on the Add-ons option on the left panel
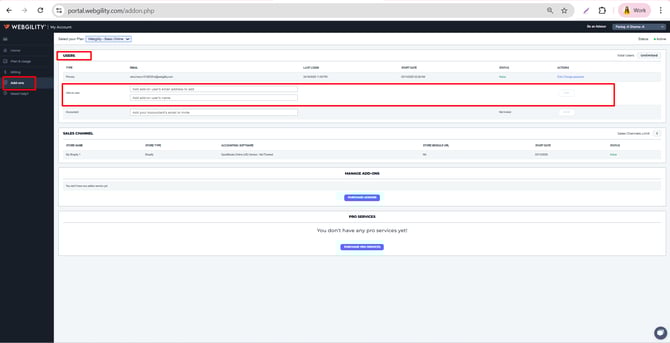
3. Update the add-on user's email along with its name. Once done it will activate an ADD button available in the righthand side so click on it to complete the step.
4. A verification email will be sent to that Add-on user’s email address. Confirm the verification email and the new user will be created under the User list. Once done then you can start using add-on user.