1. Log in to your Amazon Seller Central Account.
2. Navigate to Reports > Payments > All Statements
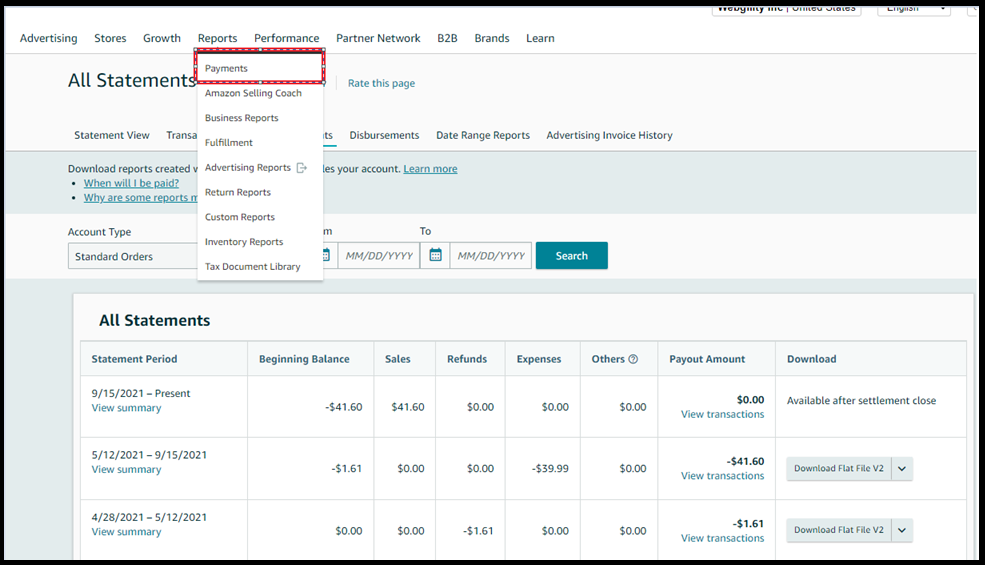
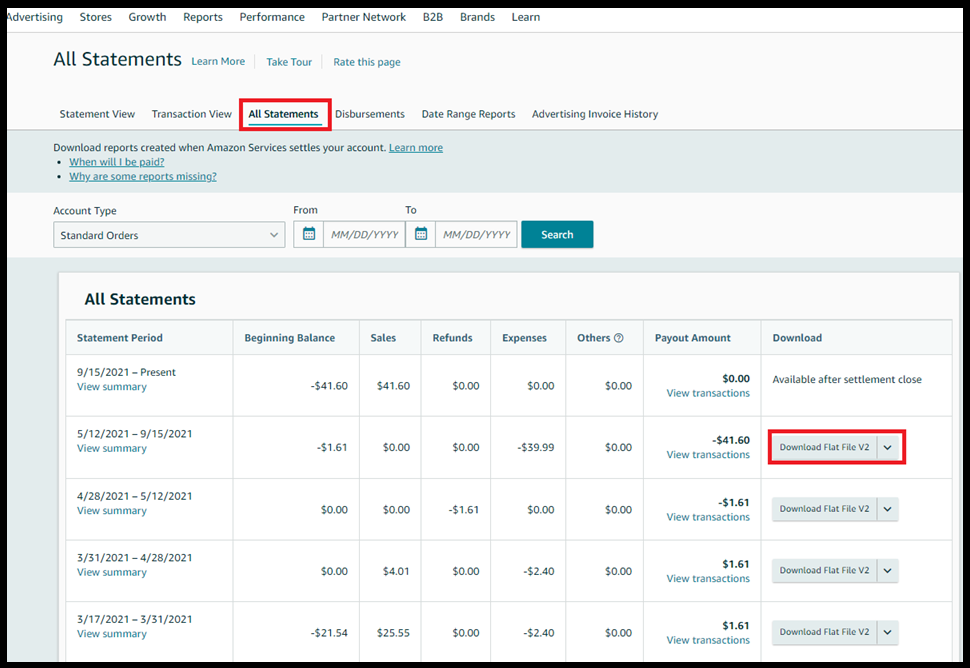
3. Select "Download Flat File V2" for the relevant Settlement Period, and proceed to save the file to a designated folder on your computer.
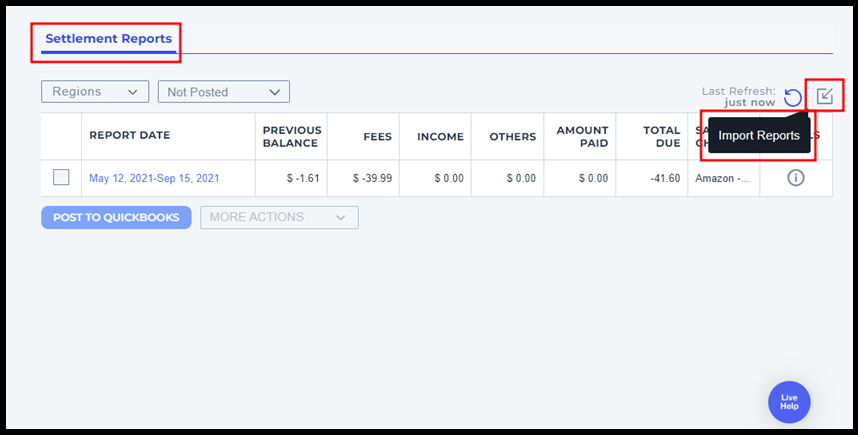
4. In Webgility Online navigate to the Settlement Report Tab from the left panel.

5. Afterward, select the option for manual import by clicking on the highlighted icon labeled "Import Reports."
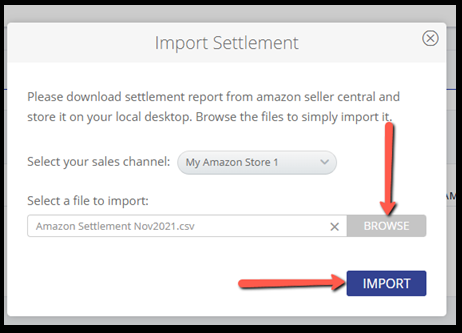
6. Use the Browse option to upload the downloaded Flat File V2 (you downloaded) and click Import.
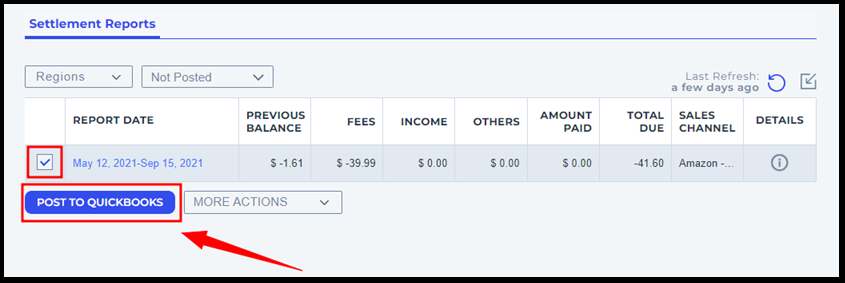
7. After the successful import of the settlement report, it will appear in the "Not Posted" tab.
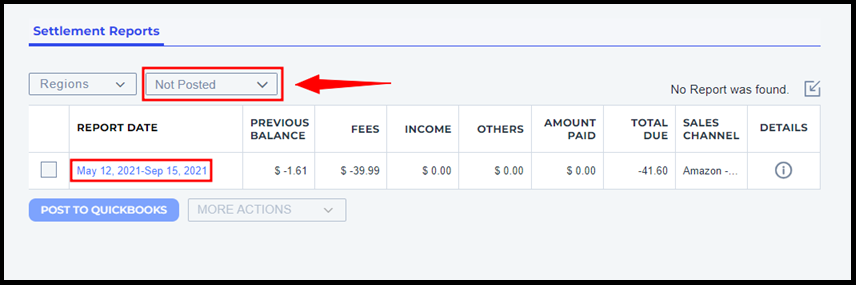
8. Finally, select the Settlement Reports and click the "Post to QuickBooks" option to post the settlement report to QuickBooks Online.