If you are connecting WooCommerce for the first time then you will need to install Webgility Extension on your WooCommerce site as a plugin.
Note: If you’re looking to update the existing Webgility Extension, please scroll to the end of this article for detailed instructions.
1. Log in to your Webgility account, here.
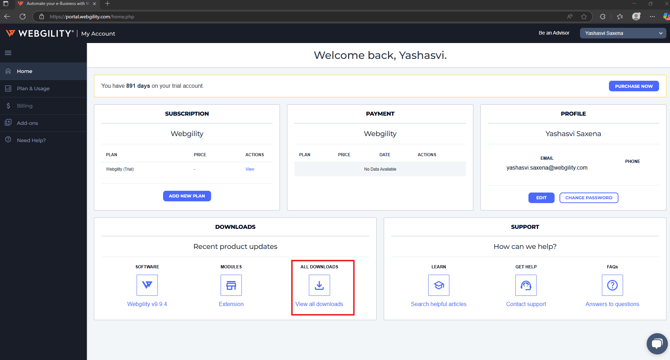
2. Click on View all downloads. On the next page, select WooCommerce from the drop-down and download the file.

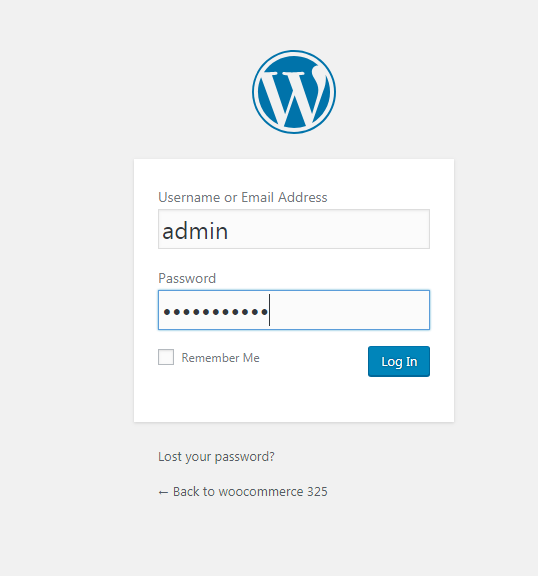
3. Once you download the file, log in to your WordPress site using your Website admin credentials.
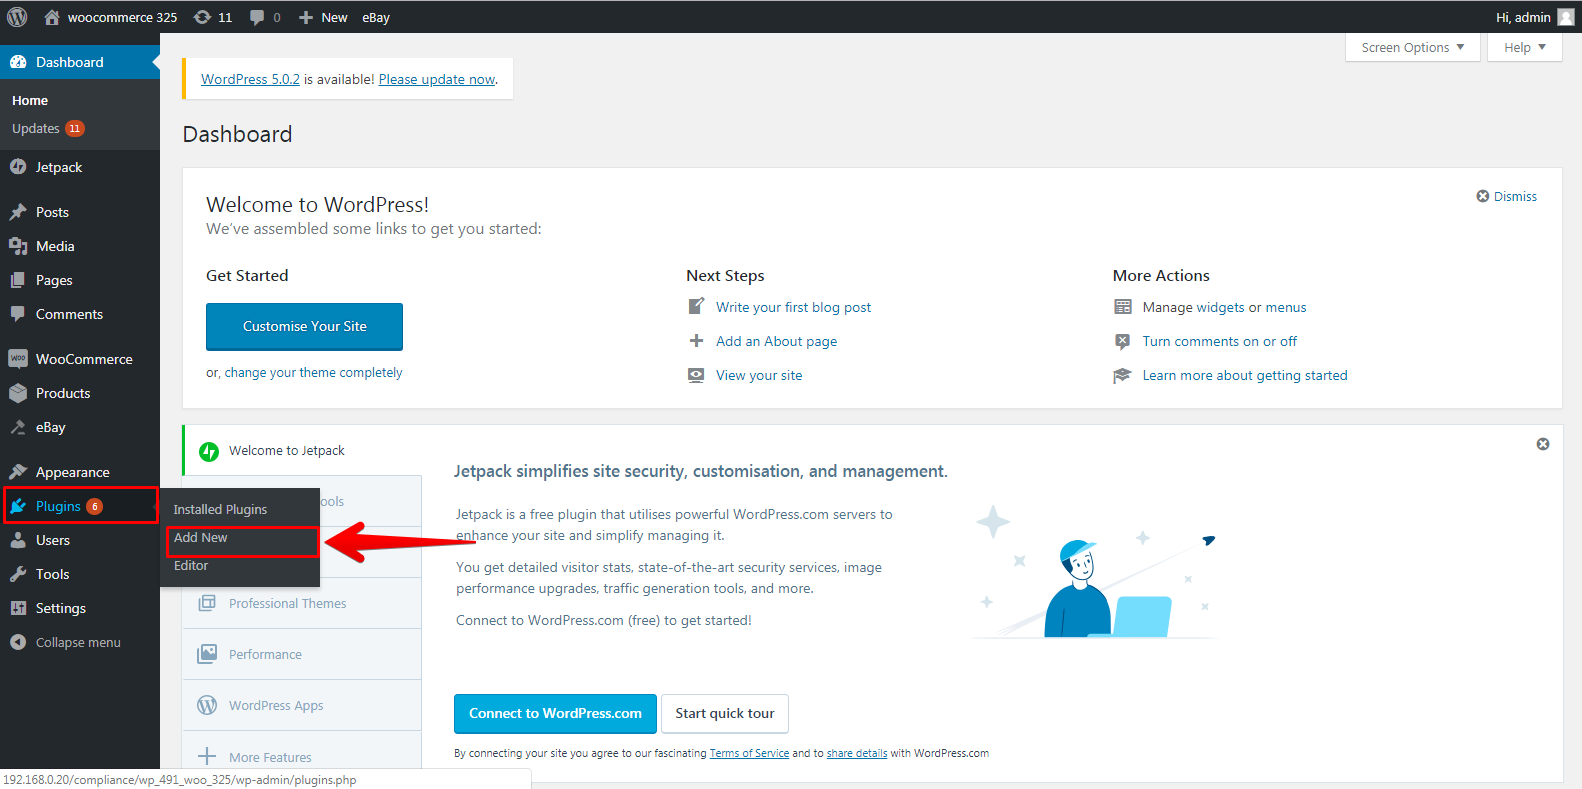
4. In the left navigation bar, go to Plugins then click on Add New.
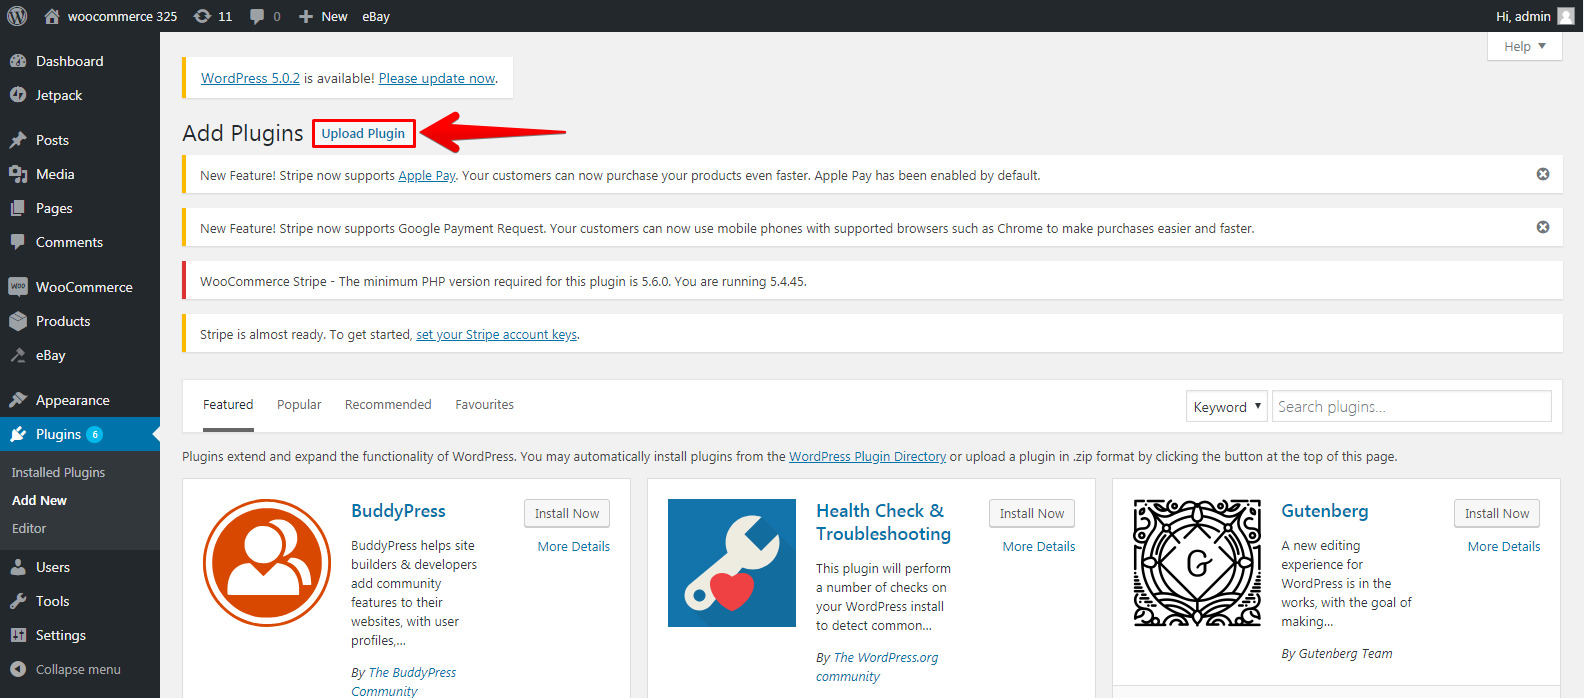
5. Click Upload Plugin, then in the pop-up navigate to the Webgility Extension zip file that you downloaded in the previous steps.
6. Click Install Now.

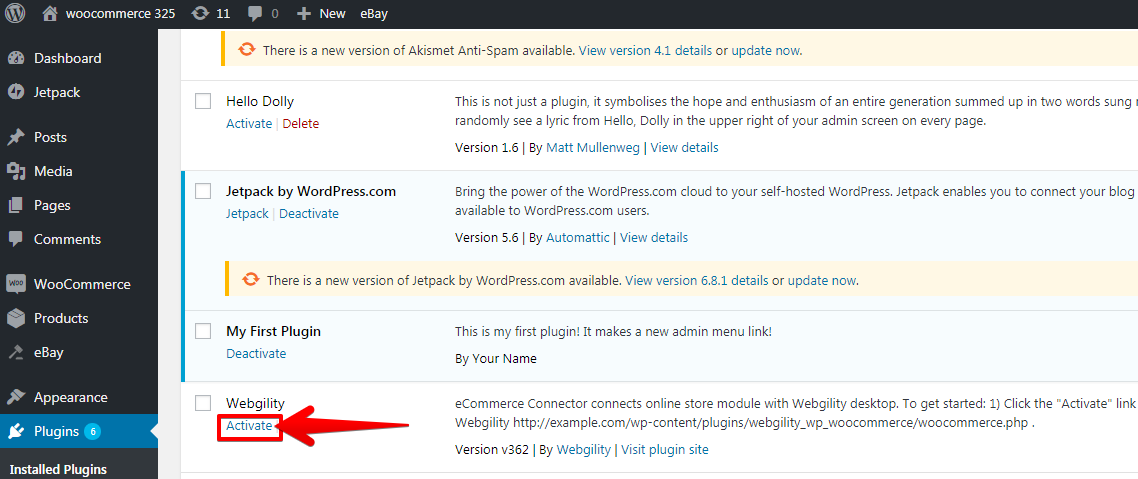
7. Navigate to your installed plugins and find the Webgility plugin. Click Activate.
8. Once activated, select Settings below Webgility then select Copy URL

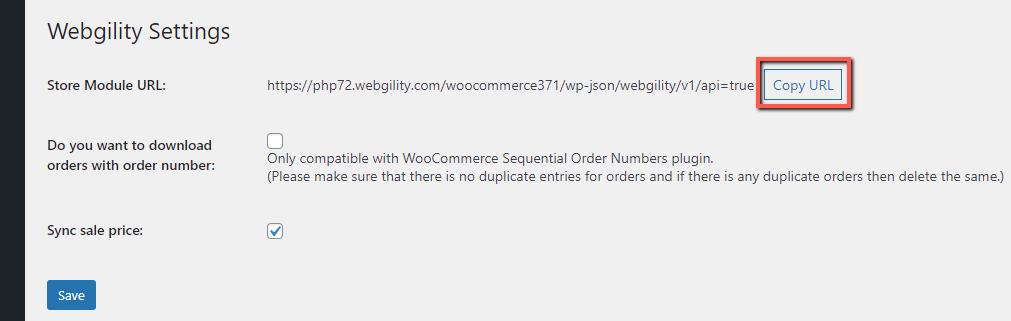
9. Once you have the URL of the Webgility Extension, proceed to the next steps.
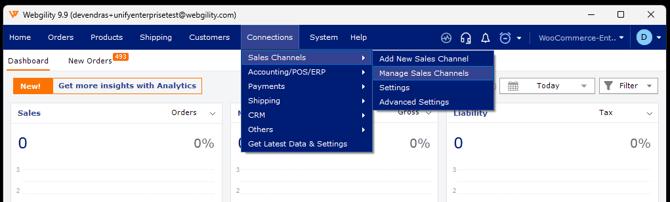
10. In the Webgility Desktop, navigate to Connections > Sales channels > Add New Sales Channel. If this is the first channel you are adding, you do not need to do this step.
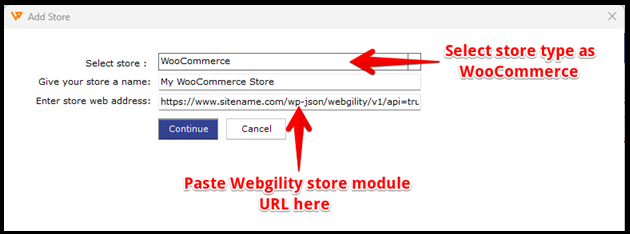
11. In the pop-up screen, select the sales channel type as WooCommerce and give your sales channel a name. In the Enter sales channel web address:, field enter the URL of the installed Webgility Extension, then click Continue.
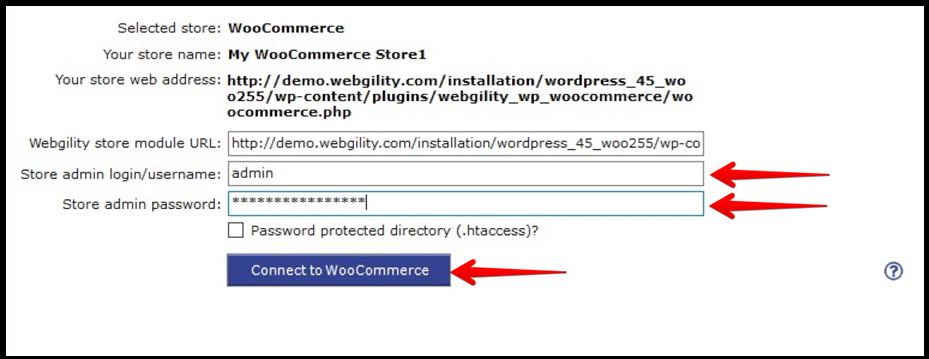
12. Enter your sales channel admin login/username and sales channel admin password, then click Connect to WooCommerce.
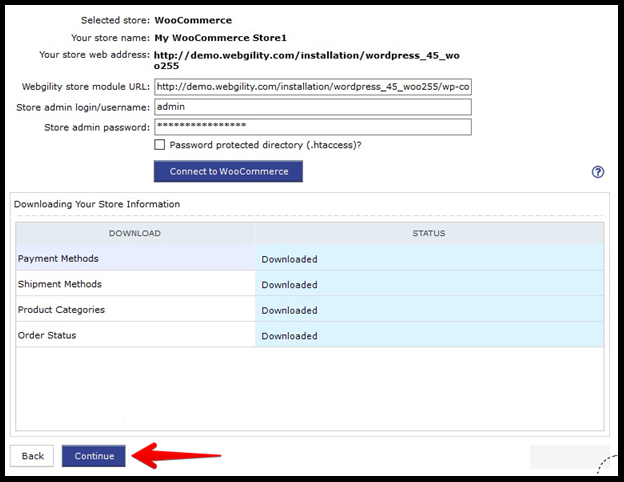
13. Webgility will download the basic sales channel information. When this is finished, click Continue.
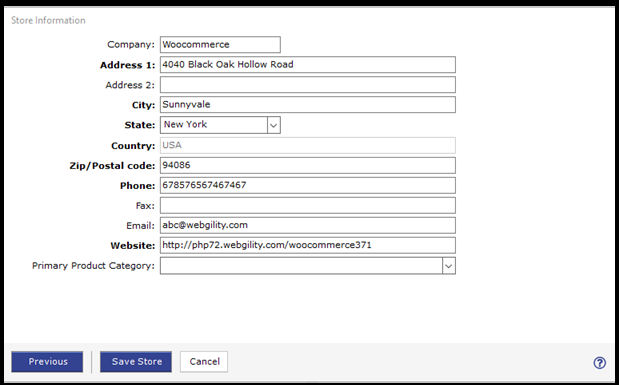
14. Complete the below form by entering your sales channel address information. Note: The fields in bold are mandatory.
Updating an Existing Webgility Extension
If a user needs to update the Webgility Extension on their WooCommerce site, the existing plugin must first be removed before the updated version can be installed. This ensures the new version installs correctly and functions as expected.
Follow these steps to update the plugin:
-
Log in to the WordPress Admin Panel
Use the site administrator credentials to access the WordPress dashboard. -
Deactivate the Existing Webgility Extension
-
Go to Plugins → Installed Plugins.
-
Locate the Webgility plugin.
-
Click Deactivate.
-
-
Delete the Plugin
-
After deactivation, click Delete next to the Webgility plugin.
-
Confirm the deletion when prompted.
-
-
Download the Latest Version of the Webgility Extension
-
Reinstall and Activate the Plugin
-
Copy the Webgility Extension URL Again
-
Reconnect the WooCommerce Sales Channel in Webgility Desktop
The next few screens are for connecting your Accounting, ERP, or POS system to Webgility Desktop. Follow the steps in the help article for the same click here