Steps to Enable Shipping Item Mapping:
01. Log in to Webgility Desktop:
-
Navigate to Connections > Accounting/POS/ERP > Sync Settings.

02. Enable Shipping Item Mapping:
-
Go to Orders, Transaction Settings.
-
Look for the option called "Shipping Item Mapping."
-
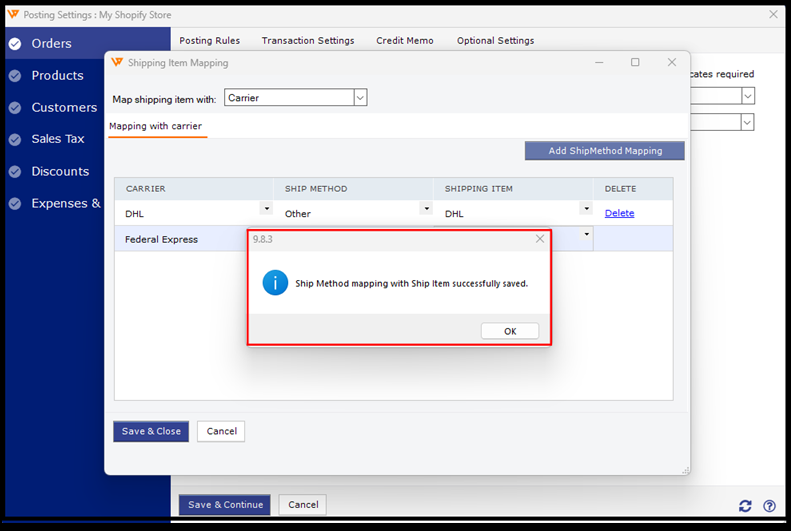
Select Map Shipping Item With Carrier to record shipping charges per the carrier used.
03. Example with DHL and Federal Express:
-
A. Open QuickBooks Desktop, go to Lists and select Item List.
-
B. Click the arrow icon next to the "Item" box.
-
C. Create a service-type item in QuickBooks Desktop for each carrier, such as "DHL" and "Federal Express." (The item names can be customized based on your preference.)
04. Refresh Webgility Desktop Settings:
-
Go back to Webgility Desktop and click Refresh Settings to update your settings.
05. Map Carriers:
-
In Webgility Desktop, select Carrier from the dropdown menu to match the carriers with the QuickBooks Desktop items you've created.
06. Save Settings:
-
A prompt will confirm that the settings have been saved successfully.